
Introduction to Swedish Æbleskiver Recipe
As a passionate home cook, I find joy in exploring the culinary treasures of different cultures. One delightful gem that has captured my heart is the Swedish Æbleskiver. These little round pancakes, often filled with sweet surprises, are not just a treat for the taste buds; they are a celebration of togetherness and warmth. I remember the first time I tried Æbleskiver at a cozy café during a chilly winter afternoon. The aroma of cinnamon and sugar wafted through the air, wrapping around me like a warm hug. Each bite was a fluffy cloud of happiness, and I knew I had to recreate this magic in my own kitchen.
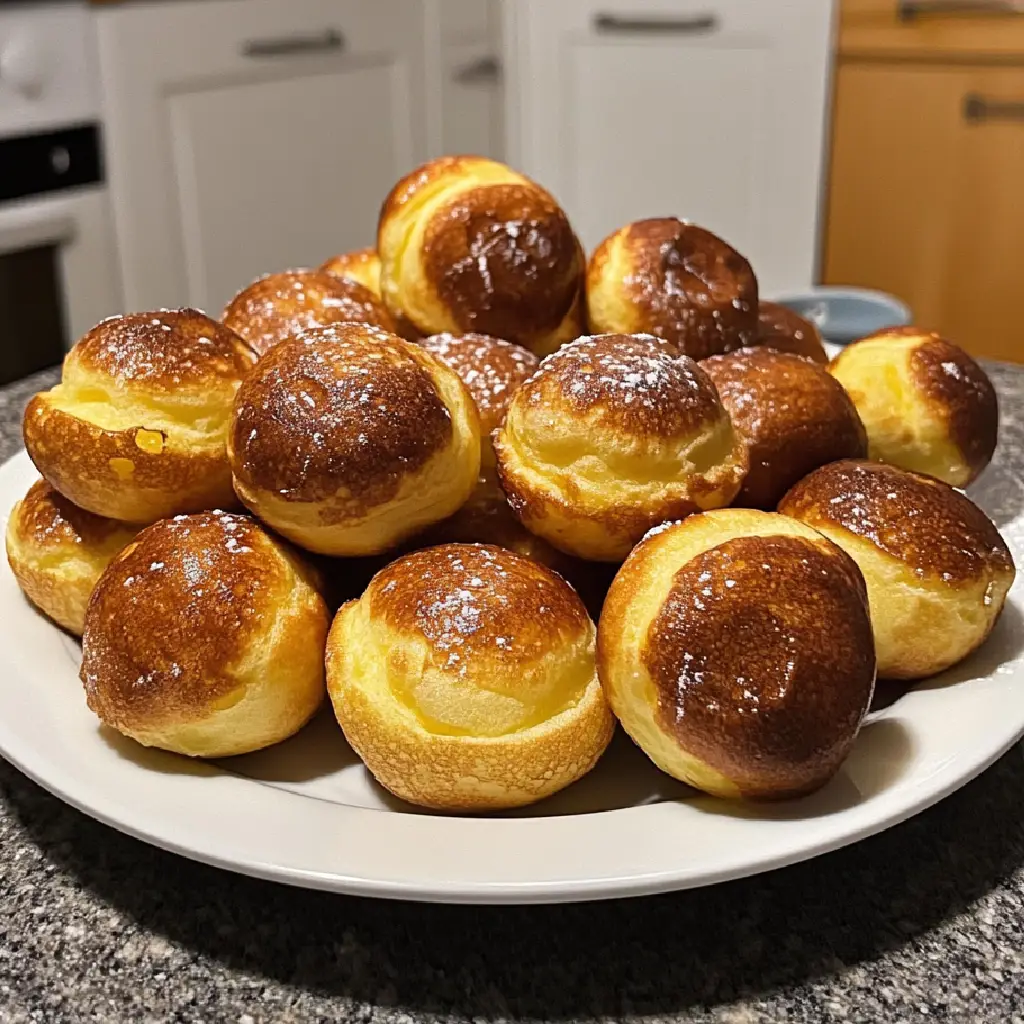
Æbleskiver, which translates to “apple slices,” are traditionally made in a special pan with round indentations. While they may have originated in Denmark, the Swedish version has its own unique charm. I love how versatile they are! You can fill them with anything from apple slices to chocolate, or even serve them plain with a dusting of powdered sugar. They are perfect for breakfast, brunch, or even as a delightful dessert. The best part? Making Æbleskiver is a fun activity that brings family and friends together, creating memories that linger long after the last bite.
In this article, I’ll share my favorite Swedish Æbleskiver recipe, along with tips and tricks that I’ve gathered from my own culinary adventures. Whether you’re a seasoned cook or just starting out, I promise you’ll find joy in making these delightful treats. So, roll up your sleeves, and let’s dive into the world of Æbleskiver!
Ingredients for Swedish Æbleskiver Recipe
Before we embark on our culinary adventure, let’s gather the ingredients for our Swedish Æbleskiver. I always believe that the quality of ingredients can make or break a dish. So, let’s make sure we’re using the best! Here’s what you’ll need:
Main Ingredients
- 1 cup all-purpose flour
- 2 tablespoons granulated sugar
- 1 teaspoon baking powder
- 1/2 teaspoon baking soda
- 1/4 teaspoon salt
- 1 cup buttermilk (or regular milk with a splash of vinegar)
- 2 large eggs, separated
- 2 tablespoons melted butter
- 1 teaspoon vanilla extract
When I make Æbleskiver, I always opt for fresh ingredients. For the flour, I prefer unbleached all-purpose flour, as it gives a lovely texture. If you can find it, using organic sugar adds a nice touch of flavor. And don’t skimp on the buttermilk! It’s the secret to that fluffy, tender interior.
Optional Add-ons
- Chopped apples or pears (for filling)
- Chocolate chips
- Cinnamon or nutmeg (for extra flavor)
- Powdered sugar (for dusting)
- Maple syrup or berry compote (for serving)
Now, here’s where the fun begins! You can get creative with your Æbleskiver. I love adding chopped apples or a sprinkle of cinnamon to the batter for a warm, cozy flavor. If you’re feeling adventurous, try filling them with chocolate chips or even a dollop of jam. The possibilities are endless! Just remember, whatever you choose, make sure it complements the fluffy goodness of the Æbleskiver.
How to Prepare Swedish Æbleskiver Recipe
Now that we have our ingredients ready, it’s time to roll up our sleeves and get cooking! Making Swedish Æbleskiver is a delightful process that fills your kitchen with warmth and sweet aromas. I can’t wait to share the steps with you. Let’s dive in!
Step 1: Mixing the Batter
First things first, we need to mix our batter. In a large bowl, combine the flour, sugar, baking powder, baking soda, and salt. I like to whisk these dry ingredients together to ensure they’re well blended. In a separate bowl, whisk the egg yolks, buttermilk, melted butter, and vanilla extract until smooth. Then, gently fold the wet ingredients into the dry mixture. Be careful not to overmix; a few lumps are perfectly fine!
Tips for Achieving the Right Consistency
- For a fluffier Æbleskiver, let the batter rest for about 10 minutes. This allows the flour to hydrate fully.
- When folding in the wet ingredients, use a spatula and a gentle hand. Think of it as a dance—slow and graceful!
Step 2: Heating the Æbleskiver Pan
Next, it’s time to heat our special Æbleskiver pan. Place it over medium heat and let it warm up for a few minutes. I always test the heat by sprinkling a drop of water onto the pan. If it sizzles and dances, you’re ready to go!
Tips for Proper Temperature Control
- Don’t rush this step! A well-heated pan ensures that the Æbleskiver cook evenly and develop that beautiful golden-brown crust.
- If you notice the pan getting too hot, lower the heat slightly. You want a steady, gentle heat for perfect cooking.
Step 3: Cooking the Æbleskiver
Now comes the fun part—cooking! Using a small ladle or spoon, pour the batter into each indentation of the pan, filling them about 2/3 full. If you’re adding any fillings, like chopped apples or chocolate chips, now’s the time to drop them in the center of the batter. After a couple of minutes, you’ll see bubbles forming on the surface. This is your cue to flip!
Tips for Flipping Æbleskiver
- Use a skewer or a fork to gently nudge the edges of the Æbleskiver. With a quick flick of the wrist, turn them over. It’s like flipping a pancake, but with a twist!
- Don’t worry if your first few flips don’t turn out perfectly. Practice makes perfect, and they’ll still taste amazing!
Step 4: Serving the Æbleskiver
Once your Æbleskiver are golden brown and puffed up, it’s time to serve! I like to transfer them to a warm plate and dust them with powdered sugar. You can also drizzle them with maple syrup or serve them with a side of berry compote for an extra touch of sweetness.
Tips for Presentation
- For a beautiful presentation, stack the Æbleskiver in a pyramid on a serving plate. It looks impressive and inviting!
- Don’t forget to add a sprinkle of fresh berries or a dollop of whipped cream for that extra flair.
And there you have it! Your Swedish Æbleskiver are ready to be enjoyed. I can already imagine the smiles on your family’s faces as they take that first bite. Let’s keep the culinary adventure going!
Equipment Needed for Swedish Æbleskiver Recipe
Before we dive into the delightful world of Æbleskiver, let’s make sure we have the right tools at our disposal. Having the right equipment can make all the difference in your cooking experience. Here’s what you’ll need:
- Æbleskiver Pan: This is the star of the show! The pan has round indentations that give Æbleskiver their signature shape. If you don’t have one, a muffin pan can work in a pinch, but the results won’t be quite the same.
- Mixing Bowls: You’ll need a couple of bowls—one for the dry ingredients and another for the wet. I prefer using glass bowls because they’re easy to clean and you can see the batter as you mix.
- Whisk: A good whisk is essential for blending your ingredients smoothly. If you don’t have one, a fork can do the trick, but it might take a bit more elbow grease!
- Spatula: A rubber spatula is perfect for folding the batter without overmixing. It’s gentle and helps keep the batter light and fluffy.
- Ladle or Spoon: You’ll need this for pouring the batter into the pan. A ladle makes it easier to control the amount of batter you pour into each indentation.
- Skewer or Fork: This handy tool is crucial for flipping the Æbleskiver. It allows you to nudge and turn them with precision.
- Serving Plate: Once your Æbleskiver are cooked to perfection, you’ll want a beautiful plate to showcase them. A warm plate keeps them cozy until it’s time to dig in!
With these tools in hand, you’re all set to create your own batch of Swedish Æbleskiver. Remember, cooking is all about having fun, so don’t stress if you don’t have every single item. Get creative and make it work with what you have! Now, let’s keep the momentum going and explore the delicious variations of Æbleskiver!
Variations of Swedish Æbleskiver Recipe
As I’ve experimented with my Swedish Æbleskiver recipe, I’ve discovered that the possibilities are as endless as my imagination! Each variation brings a new twist to these delightful treats, making them even more exciting to share with family and friends. Here are a few of my favorite variations that I think you’ll love:
- Fruit-Filled Æbleskiver: Instead of just adding chopped apples, try using berries like blueberries or raspberries. They burst with flavor and add a lovely color to your dish!
- Chocolate Delight: For the chocolate lovers out there, fill the Æbleskiver with chocolate chips or a spoonful of Nutella. The melted chocolate oozing out is pure bliss!
- Spiced Pumpkin: In the fall, I love adding pumpkin puree and a sprinkle of pumpkin spice to the batter. It gives a warm, cozy flavor that’s perfect for chilly days.
- Savory Æbleskiver: If you’re feeling adventurous, try a savory twist! Add crumbled feta cheese and spinach for a delightful brunch option. It’s a fun way to switch things up!
- Nutty Banana: Mash a ripe banana and fold it into the batter for a sweet, nutty flavor. You can even add chopped walnuts for a delightful crunch!
These variations not only keep things interesting but also allow you to cater to different tastes and preferences. I love how each batch can tell a different story, depending on the ingredients I choose. So, don’t hesitate to get creative and make these Æbleskiver your own! The kitchen is your canvas, and the flavors are your palette. Let’s keep the culinary adventure alive!
Cooking Notes for Swedish Æbleskiver Recipe
As I’ve journeyed through the delightful process of making Swedish Æbleskiver, I’ve picked up a few cooking notes that can help elevate your experience. These little tips and tricks can make a world of difference, ensuring that your Æbleskiver turn out perfectly every time.
- Don’t Rush the Batter: Allowing the batter to rest for about 10 minutes is key. This gives the flour time to absorb the liquid, resulting in a fluffier texture. Think of it as giving your batter a little nap!
- Experiment with Heat: Every stove is different, so you might need to adjust the heat slightly. If your Æbleskiver are browning too quickly, lower the heat. A gentle, steady temperature is your best friend.
- Use a Non-Stick Pan: If you’re using a traditional Æbleskiver pan, make sure it’s well-seasoned or non-stick. This helps prevent sticking and makes flipping a breeze!
- Practice Makes Perfect: Don’t be discouraged if your first few Æbleskiver don’t turn out perfectly round. With a little practice, you’ll master the flipping technique, and they’ll become beautifully shaped!
- Keep Them Warm: If you’re making a large batch, keep the cooked Æbleskiver warm in a low oven (around 200°F or 93°C) while you finish cooking the rest. This way, they’ll all be warm and ready to serve together.
These cooking notes are like little nuggets of wisdom I’ve gathered along the way. They help me create the perfect batch of Æbleskiver every time, and I hope they do the same for you! Remember, cooking is all about enjoying the process, so have fun and let your creativity shine. Now, let’s move on to some serving suggestions that will make your Æbleskiver even more delightful!
Serving Suggestions for Swedish Æbleskiver Recipe
Now that your Swedish Æbleskiver are beautifully cooked and ready to be devoured, let’s talk about how to serve them for maximum delight! Presentation can elevate the experience, and I love to get a little creative when it comes to serving these fluffy treats. Here are some of my favorite serving suggestions that will make your Æbleskiver shine:
- Classic Dusting: A simple dusting of powdered sugar is always a hit. It adds a touch of sweetness and makes the Æbleskiver look like little clouds of joy!
- Fruit Compote: Serve them with a side of warm berry compote or fresh fruit. The tartness of berries pairs beautifully with the sweetness of the Æbleskiver, creating a delightful balance.
- Maple Syrup Drizzle: A drizzle of pure maple syrup can take your Æbleskiver to the next level. The rich, sweet flavor complements the fluffy texture perfectly.
- Whipped Cream: For a decadent touch, add a dollop of whipped cream on top. It’s like a hug for your taste buds!
- Chocolate Sauce: If you’re feeling indulgent, drizzle some warm chocolate sauce over the Æbleskiver. It’s a chocolate lover’s dream come true!
When I serve Æbleskiver, I like to arrange them on a beautiful platter, garnished with fresh mint leaves or edible flowers for a pop of color. It makes the dish feel special and inviting. Remember, the way you present your food can make it even more enjoyable, so don’t hesitate to get creative! With these serving suggestions, your Swedish Æbleskiver will not only taste amazing but also look like a work of art on the table. Now, let’s keep the excitement going with some tips for perfecting your Æbleskiver recipe!
Tips for Perfecting Your Swedish Æbleskiver Recipe
As I’ve whipped up countless batches of Swedish Æbleskiver, I’ve gathered a treasure trove of tips that can help you achieve pancake perfection. These little nuggets of wisdom can make all the difference in your cooking journey. Let’s dive into some of my favorite tips that will elevate your Æbleskiver game!
- Use Room Temperature Ingredients: Before you start mixing, let your eggs and buttermilk sit out for about 30 minutes. Room temperature ingredients blend more easily, resulting in a smoother batter.
- Don’t Overmix: When combining the wet and dry ingredients, remember that a few lumps are okay! Overmixing can lead to tough Æbleskiver, so be gentle and fold until just combined.
- Experiment with Fillings: Don’t be afraid to get creative with your fillings! Try different fruits, nuts, or even a surprise dollop of cream cheese. Each filling adds a unique twist to the flavor.
- Keep the Pan Greased: Even if you have a non-stick Æbleskiver pan, a light coating of butter or oil helps ensure that your treats slide out easily. It also adds a lovely golden color!
- Practice Your Flipping: Flipping Æbleskiver can be tricky at first, but don’t worry! With practice, you’ll develop a rhythm. Just remember to be quick and confident with your flips!
These tips are like little secrets I’ve learned along the way, and I’m excited to share them with you. Each batch of Æbleskiver is a chance to learn and grow as a cook. So, embrace the process, have fun, and let your creativity shine! Now, let’s keep the momentum going and break down the time it takes to whip up these delightful treats.
Breakdown of Time for Swedish Æbleskiver Recipe
As a home cook, I know that time is often of the essence, especially when you’re excited to share delicious treats with loved ones. So, let’s break down the time it takes to whip up these delightful Swedish Æbleskiver. Knowing the timing can help you plan your cooking adventure better!
- Prep Time: About 15 minutes. This includes gathering your ingredients, mixing the batter, and getting your Æbleskiver pan ready. It’s a quick and enjoyable process that sets the stage for the fun to come!
- Cooking Time: Approximately 20 minutes. Depending on how many Æbleskiver you’re making, this time may vary slightly. Each batch cooks up in just a few minutes, so you’ll be flipping and serving in no time!
- Total Time: Around 35 minutes. In less than half an hour, you can have a warm plate of fluffy Æbleskiver ready to impress your family and friends. It’s a perfect way to start your day or to enjoy as a sweet treat!
With this time breakdown, you can easily fit Æbleskiver into your busy schedule. Whether it’s a weekend brunch or a cozy weekday breakfast, these little delights are just a short cooking session away. So, let’s keep the excitement rolling and dive into the nutritional information for our scrumptious Swedish Æbleskiver!
Nutritional Information for Swedish Æbleskiver Recipe
As a passionate home cook, I always find it important to know what goes into the delicious treats I make. While Swedish Æbleskiver are a delightful indulgence, they can also be enjoyed in moderation as part of a balanced diet. Here’s a general breakdown of the nutritional information for one Æbleskiver, based on the ingredients listed in our recipe:
- Calories: Approximately 100 calories
- Protein: 3 grams
- Carbohydrates: 15 grams
- Fat: 4 grams
- Sugar: 2 grams
- Fiber: 0.5 grams
Keep in mind that these values can vary based on the specific ingredients you use and any optional add-ons you choose to include. For instance, adding chocolate chips or fruit will increase the sugar content, while using whole grain flour can boost the fiber. I love to think of Æbleskiver as a canvas for creativity, and you can make them as nutritious as you like!
Enjoying these fluffy delights with fresh fruit or a dollop of yogurt can also enhance their nutritional profile. So, whether you’re savoring them for breakfast or as a sweet treat, remember that balance is key. Now, let’s keep the culinary journey going with some frequently asked questions about our beloved Swedish Æbleskiver!
Frequently Asked Questions about Swedish Æbleskiver Recipe
As I’ve shared my love for Swedish Æbleskiver, I’ve noticed that many home cooks have similar questions. It’s always great to connect with fellow food enthusiasts and share insights! Here are some of the most common queries I’ve encountered, along with my answers to help you on your Æbleskiver journey.
Can I make the batter ahead of time?
Absolutely! You can prepare the batter a few hours in advance and store it in the refrigerator. Just remember to give it a gentle stir before using, as it may thicken slightly while chilling. This is a great time-saver if you’re planning a brunch or special gathering!
What if I don’t have an Æbleskiver pan?
If you don’t have a traditional Æbleskiver pan, don’t fret! You can use a muffin pan as an alternative. While the shape will be different, the taste will still be delightful. Just be sure to adjust the cooking time, as they may take a bit longer to cook through.
Can I freeze Æbleskiver?
Yes, you can freeze Æbleskiver! Once they’ve cooled completely, place them in an airtight container or freezer bag. They can be stored for up to a month. When you’re ready to enjoy them, simply reheat in the oven or microwave. They’ll taste just as delicious!
What are some good fillings for Æbleskiver?
The options are endless! You can fill them with chopped fruits like apples, berries, or bananas. Chocolate chips, Nutella, or even a dollop of jam are also fantastic choices. For a savory twist, try crumbled cheese or sautéed vegetables. Get creative and find your favorite combinations!
How do I know when Æbleskiver are done cooking?
Great question! You’ll know they’re ready when they’re golden brown on the outside and puffed up. You can also gently poke one with a skewer; if it comes out clean, they’re done! Keep an eye on them, as they cook quickly.
These FAQs are just a glimpse into the wonderful world of Swedish Æbleskiver. I hope they help you feel more confident as you embark on your cooking adventure. Remember, cooking is all about exploration and joy, so don’t hesitate to ask questions and share your experiences! Now, let’s wrap up our culinary journey with a sweet conclusion on our beloved Æbleskiver.
Conclusion on Swedish Æbleskiver Recipe
As I reflect on my journey with the Swedish Æbleskiver recipe, I can’t help but smile at the joy these delightful treats bring. They are more than just fluffy pancakes; they are a canvas for creativity, a way to connect with loved ones, and a celebration of flavors that can be tailored to suit any palate. Whether you fill them with sweet fruits, rich chocolate, or even savory ingredients, each bite is a little piece of happiness.
Making Æbleskiver is not just about the end result; it’s about the experience of cooking together, sharing stories, and creating memories that linger long after the last bite. I love how they can transform a simple breakfast into a festive occasion or a cozy gathering into a delightful feast. Plus, with the tips and variations I’ve shared, you can easily make this recipe your own, ensuring that every batch is unique and special.
So, whether you’re a seasoned cook or just starting your culinary adventure, I encourage you to give this Swedish Æbleskiver recipe a try. Embrace the process, have fun, and let your creativity shine in the kitchen. I can’t wait for you to experience the joy of making and sharing these delightful treats with your family and friends. Happy cooking!


