
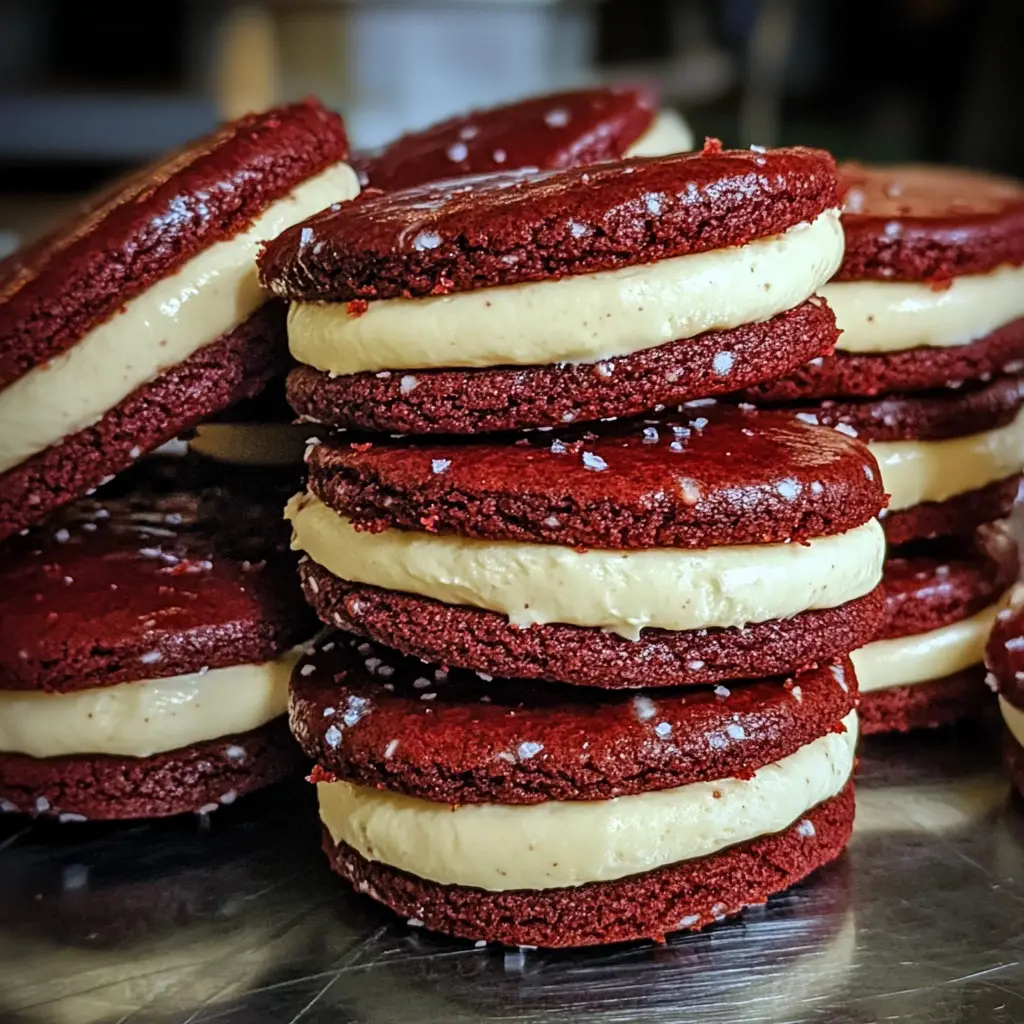
Introduction to Red Velvet Cookies with Cream Cheese
Red Velvet Cookies with Cream Cheese are the perfect fusion of two iconic desserts: the tender, slightly cocoa-flavored Red Velvet cake and the rich, creamy indulgence of cheesecake. Each cookie is a soft, chewy masterpiece with a moist, luxurious texture, punctuated by pockets of tangy cream cheese that melt into the dough while baking. With their striking red hue, these cookies are visually stunning, making them perfect for holidays like Valentine’s Day, Christmas, or simply to impress friends and family.
What makes them so irresistible is the balance between the subtly chocolatey dough and the sweet, tangy cream cheese filling.
Why Is This Red Velvet Cookies with Cream Cheese Recipe So Popular?
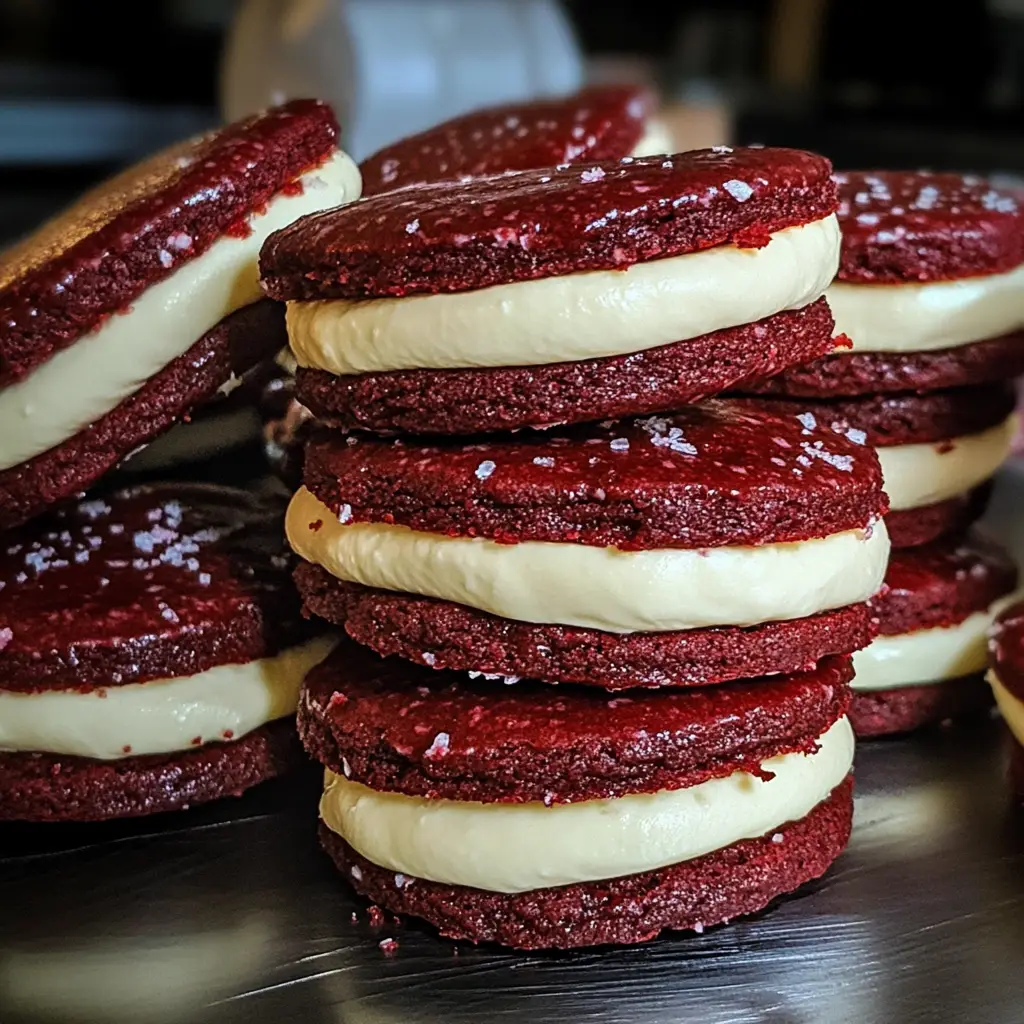
The popularity of Red Velvet Cookies with Cream Cheese comes from their visual appeal, flavor complexity, and texture contrast. Red Velvet has always been a favorite for its mild cocoa flavor and striking color, while cream cheese is beloved for its tang and smooth texture. Combining them creates a cookie that feels both indulgent and elegant. They’re popular not just for personal enjoyment but also for events, parties, and gifting because they look professionally made without requiring advanced baking skills. The chewy, melt-in-your-mouth quality paired with creamy filling makes them stand out from regular cookies, and they freeze beautifully, allowing bakers to make them in bulk for future enjoyment.
Why You’ll Love This Red Velvet Cookies with Cream Cheese Recipe
You’ll love this recipe because it’s a perfect blend of flavor, texture, and aesthetics. These cookies are soft on the outside with a slight crisp edge, chewy in the center, and filled with luscious cream cheese pockets. The tangy cream cheese contrasts beautifully with the sweet, subtly chocolatey red velvet dough. They’re perfect for special occasions, gift-giving, or simply a decadent treat to satisfy your dessert cravings. This recipe is also highly customizable—you can add white chocolate chips, sprinkles, or even a drizzle of chocolate for extra flair. They are straightforward to make yet feel luxurious, allowing you to create a bakery-worthy dessert right at home.
Here’s What You’ll Need
For the Red Velvet Cookie Dough
- 2 1/2 cups all-purpose flour
- 1/4 cup unsweetened cocoa powder
- 1 teaspoon baking soda
- 1/2 teaspoon salt
- 1 cup unsalted butter, softened
- 1 cup granulated sugar
- 1/2 cup brown sugar, packed
- 2 large eggs
- 2 tablespoons buttermilk
- 1 teaspoon vanilla extract
- 2 teaspoons red food coloring
For the Cream Cheese Filling
- 8 oz cream cheese, softened
- 1/3 cup granulated sugar
- 1 teaspoon vanilla extract
Optional Add-Ins and Toppings
- White chocolate chips or chunks
- Sprinkles for decoration
- Drizzle of melted chocolate or caramel
How to Make Red Velvet Cookies with Cream Cheese
Now that you’ve gathered all your ingredients, let’s walk through the step-by-step process to achieve perfectly soft, chewy, and decadent cookies.
Step 1: Prepare the Cream Cheese Filling
In a medium bowl, beat the softened cream cheese until smooth and creamy. Add granulated sugar and vanilla extract, mixing until fully incorporated. Place in the refrigerator while you prepare the cookie dough to keep it firm.
Step 2: Mix the Dry Ingredients
In a medium bowl, sift together flour, cocoa powder, baking soda, and salt. Set aside. Sifting ensures a light, airy dough and prevents lumps of cocoa powder.
Step 3: Cream the Butter and Sugars
In a large mixing bowl, beat the softened butter, granulated sugar, and brown sugar until light and fluffy, about 3–4 minutes with an electric mixer. This step is crucial for creating soft, chewy cookies with proper texture.
Step 4: Add Eggs, Vanilla, and Food Coloring
Add eggs one at a time, mixing well after each addition. Then, beat in vanilla extract and red food coloring until the dough has a uniform, vibrant red hue.
Step 5: Combine Wet and Dry Ingredients
Gradually add the dry ingredients to the wet ingredients, mixing on low speed until just combined. Avoid overmixing to maintain the soft texture of the cookies. Add buttermilk and mix briefly to ensure the dough is smooth and slightly glossy.
Step 6: Assemble the Cookies
Preheat the oven to 350°F (175°C) and line baking sheets with parchment paper. Scoop approximately 2 tablespoons of cookie dough and flatten it slightly in your hand. Place about 1 teaspoon of chilled cream cheese filling in the center and wrap the dough around it, forming a ball and sealing the cream cheese inside. Repeat for remaining dough and filling.
Step 7: Bake the Cookies
Place the filled cookie dough balls on the prepared baking sheet, spacing them about 2 inches apart. Bake for 12–14 minutes, or until the edges are set and the tops are slightly firm. The centers will remain soft and gooey. Allow cookies to cool on the baking sheet for 5 minutes before transferring them to a wire rack to cool completely.
Step 8: Optional Decoration
Once cooled, drizzle with melted white chocolate, chocolate ganache, or caramel for an extra touch of decadence. You can also add festive sprinkles for holidays or special occasions.
Tips for Success
- Chill the cream cheese filling to prevent it from leaking during baking.
- Don’t overbake the cookies; they should remain soft in the center.
- Seal the cream cheese completely in the dough to avoid oozing.
- Use high-quality cocoa powder for a richer red velvet flavor.
- Red food coloring can be adjusted for intensity, or use natural alternatives like beet juice.
Equipment Needed
- Mixing bowls
- Electric mixer
- Sifter for dry ingredients
- Baking sheets
- Parchment paper
- Wire cooling rack
- Spoon or small ice cream scoop
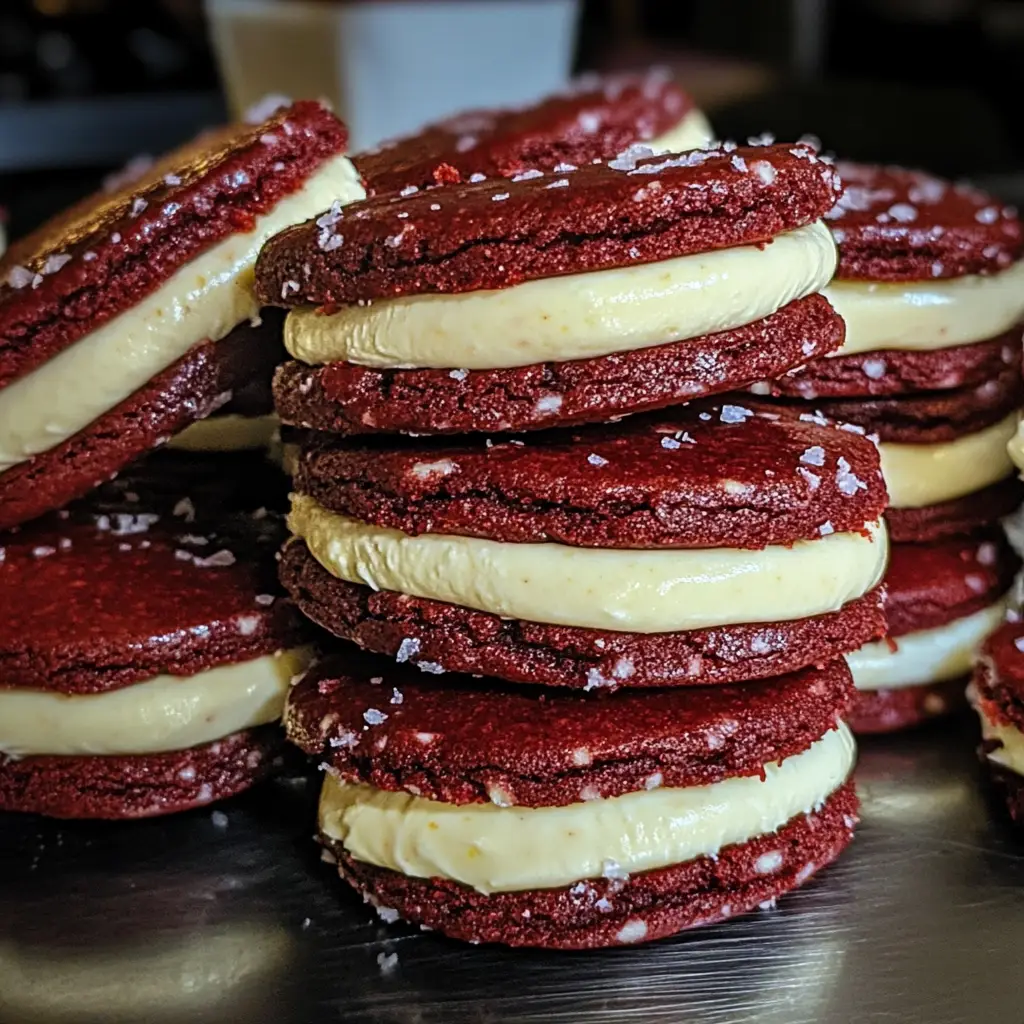
Variations of Red Velvet Cookies with Cream Cheese
- White Chocolate Chip Red Velvet Cookies: Fold white chocolate chips into the dough before baking.
- Festive Sprinkle Version: Add colored sprinkles inside the cookie or on top for holidays.
- Chocolate Drizzle Version: Drizzle melted chocolate over cooled cookies for extra decadence.
- Mini Red Velvet Bites: Make smaller cookies for bite-sized treats, perfect for parties.
- Nutty Red Velvet Cookies: Add finely chopped pecans or walnuts for a subtle crunch.
Serving Suggestions for Red Velvet Cookies with Cream Cheese
Serve these cookies with a glass of cold milk or a cup of hot coffee or tea. They’re perfect for dessert platters, gift boxes, or as a sweet snack anytime. Pairing them with vanilla ice cream makes for an indulgent treat.
Prep Time: 20 minutes
Chilling Time: 15–30 minutes (for cream cheese filling)
Cooking Time: 12–14 minutes
Total Time: 50 minutes
Nutritional Information (per cookie, approx.)
Calories: 210
Protein: 3g
Fat: 11g
Carbohydrates: 25g
Sugar: 15g
Sodium: 120mg
FAQs about Red Velvet Cookies with Cream Cheese
Q: Can I make the dough ahead of time? Yes, store in the fridge for up to 48 hours or freeze for longer storage.
Q: Can I use cream cheese alternatives? Yes, you can use Neufchâtel cheese or a dairy-free cream cheese substitute.
Q: Can I skip the food coloring? Yes, but the signature red velvet color will be absent. Natural beet juice can also be used.
Q: How should I store these cookies? Store in an airtight container at room temperature for up to 3 days or in the fridge for up to a week.
Q: Can I freeze them? Yes, freeze baked cookies in an airtight container for up to 2 months.
Final Thoughts
Red Velvet Cookies with Cream Cheese are a delightful and indulgent treat that combines the best of cookies and cheesecake in every bite. They’re soft, chewy, flavorful, and visually stunning, making them a perfect dessert for holidays, celebrations, or simply treating yourself. Once you make them, they’re sure to become a favorite, impressing anyone who tastes them. With their decadent cream cheese filling and vibrant red dough, these cookies are both a feast for the eyes and a pleasure for the palate.


