
Imagine the ultimate, no-fuss dessert that tastes like you slaved away for hours, but in reality, requires barely any effort at all. Welcome to the magical world of the Peanut Butter Cup Dump Cake. This dessert is the undisputed champion of potlucks, birthday parties, and those desperate “I need chocolate NOW” moments. As a baking enthusiast who also values simplicity, this recipe holds a special place in my heart. It is the glorious, gooey, and decadent love child of a brownie, a cake, and a peanut butter cup, all merged into one irresistible pan of comfort. The name “dump cake” might sound unglamorous, but it perfectly describes the effortless method: you essentially “dump” the ingredients into a pan and let the oven perform its magic.
Why Is This Peanut Butter Cup Dump Cake So Popular?
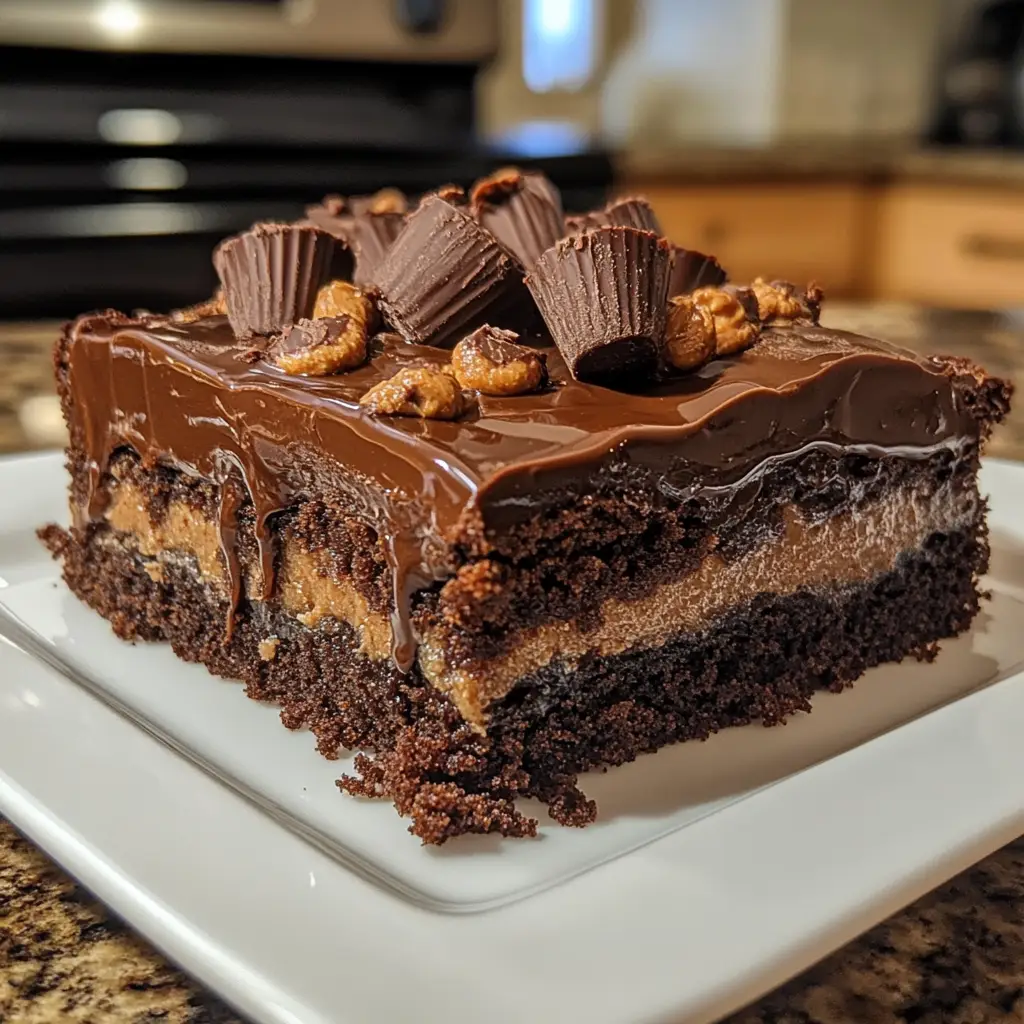
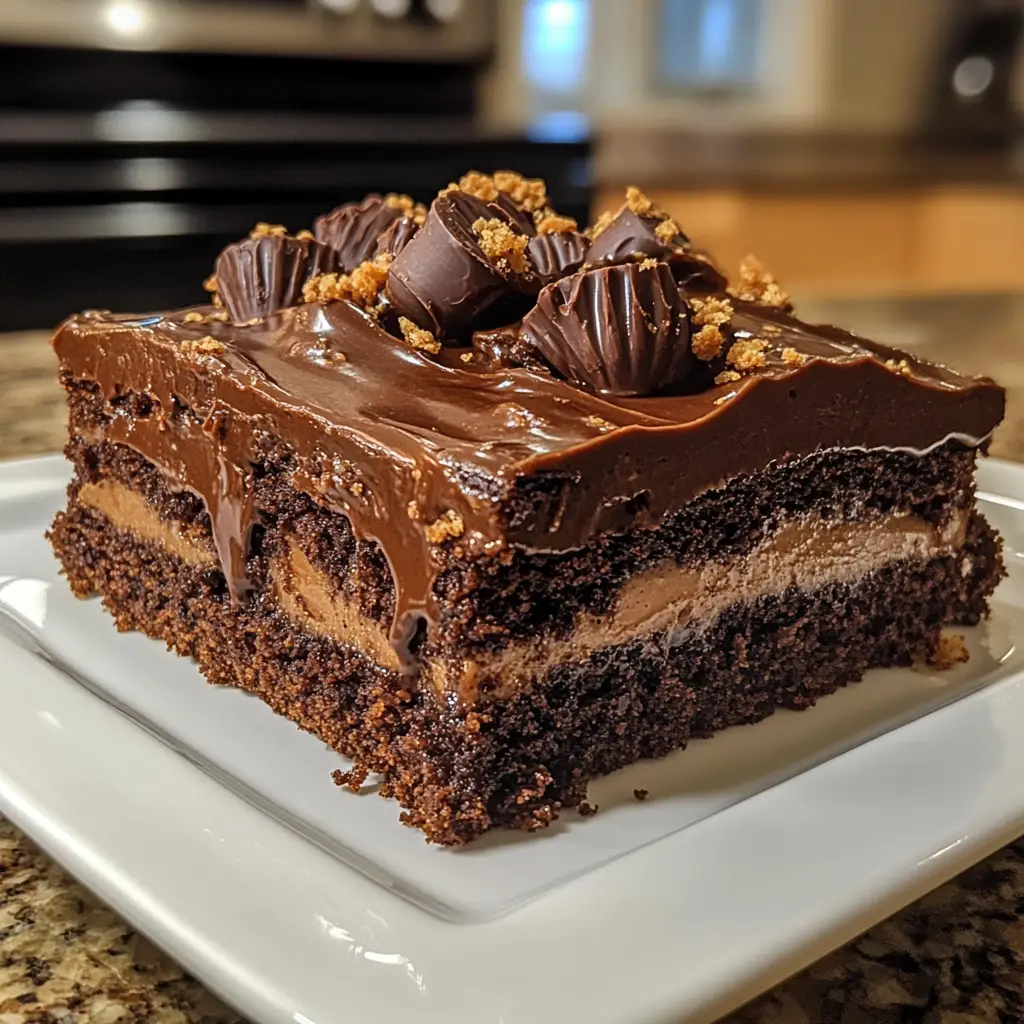
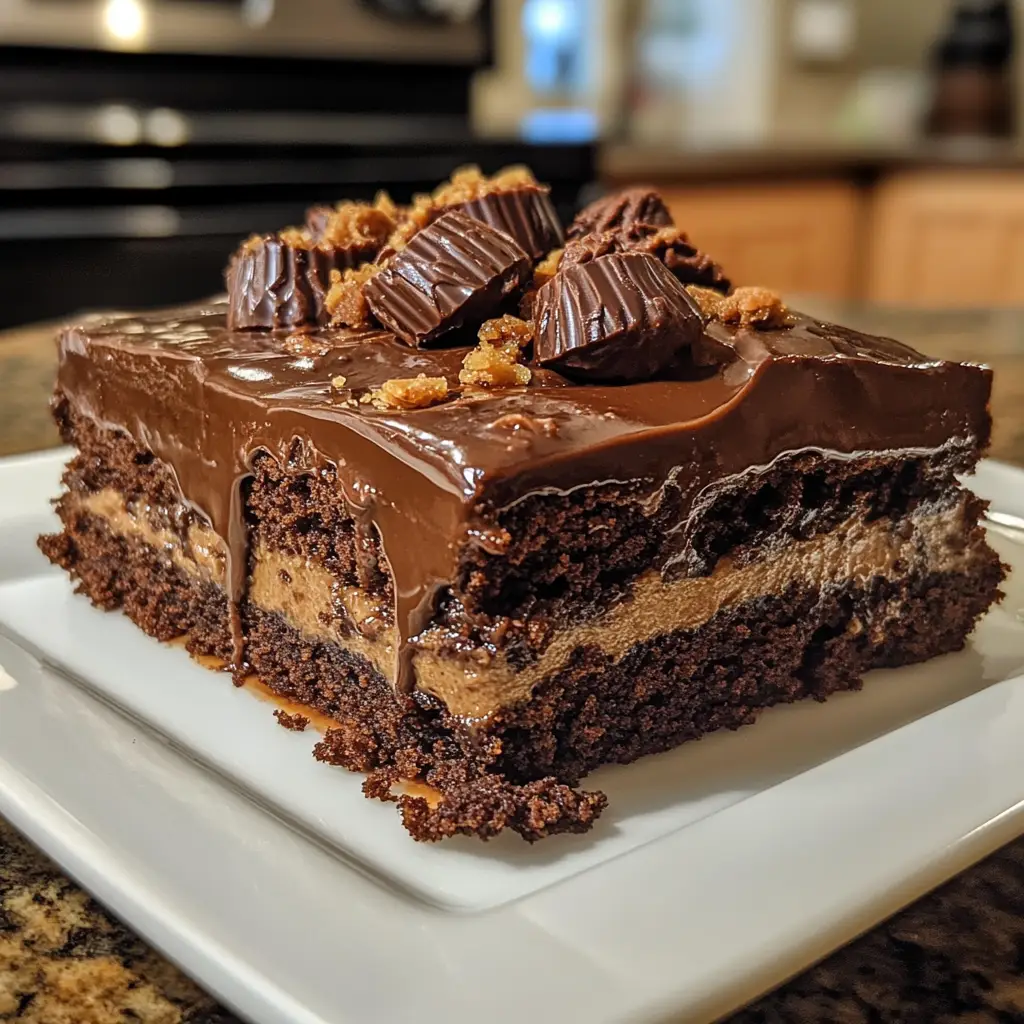
The popularity of this dump cake, and dump cakes in general, can be attributed to a perfect storm of convenience and indulgence. In our fast-paced world, a dessert that can be prepared in under 10 minutes with zero technical skill is a priceless commodity. It democratizes baking, making it accessible to absolute beginners and seasoned chefs alike, who all appreciate its guaranteed delicious results. Furthermore, it leverages the powerful, nostalgic flavor combination of chocolate and peanut butter—a duo that is universally adored and instantly appealing to both children and adults. Its visual appeal, with the cracked, sandy topping revealing pockets of gooey peanut butter and chocolate beneath, is incredibly enticing, making it a frequent star at social gatherings. Finally, its versatility is a huge draw; it serves as a blank canvas for countless variations, encouraging bakers to make it their own with different candy bars, extracts, or mix-ins, thus fueling its shareability online and in community cookbooks.
Why You’ll Love This Peanut Butter Cup Dump Cake
You will fall head-over-heels for this recipe because it is the ultimate dessert cheat code:
- Minimal Effort, Maximum Reward: With just 5 main ingredients and no mixing bowls required, this is quite possibly the easiest impressive dessert you will ever make. There’s no creaming butter and sugar, no worrying about overmixing, and no fancy equipment needed.
- Nostalgic Flavor Bomb: It captures the iconic, beloved taste of a peanut butter cup and amplifies it into a warm, gooey, shareable dessert experience.
- Textural Heaven: The contrast between the soft, fudgy base, the molten peanut butter layer, the melty chocolate cups, and the crisp, crumbly cake topping is an absolute delight for the senses.
- Crowd-Pleasing Power: This cake is a guaranteed hit at any gathering. It appeals to virtually every age and taste preference, making it the perfect dessert to bring to a party.
- Customizable: The recipe is a fantastic template. You can easily swap out the type of cake mix, the pudding flavor, or the candy you use to create a completely different dessert every time.
Here’s what you’ll need:
The beauty of this cake lies in its short, simple ingredient list. Using quality brands will yield the best results.
The Fudgy Base Layer:
- Chocolate Fudge Cake Mix: (1 box, 15.25 oz) This is the foundation of the cake. Do not use a “pudding in the mix” variety. The classic Betty Crocker or Duncan Hines Chocolate Fudge works perfectly. The dry mix creates the crumbly topping and helps form the fudgy base.
- Chocolate Instant Pudding Mix: (1 box, 3.9 oz) This is the secret weapon for an extra-moist, rich, and fudgy texture. It ensures the bottom layer sets with a dense, brownie-like consistency. Do not use sugar-free or cook-and-serve pudding.
The Peanut Butter Layer:
- Creamy Peanut Butter: (1 cup) Use a standard, shelf-stable peanut butter like Jif or Skippy. The oils and stabilizers in these brands help it melt and spread evenly. Natural peanut butter (the kind that separates) can be used, but it may not incorporate as smoothly and can make the final result slightly oilier.
The Creamy Binding Liquid:
- Whole Milk: (1 ½ cups) The fat content in whole milk is crucial for creating a rich, creamy pudding layer and helping to moisten the cake mix. Lower-fat milk can be used but will result in a slightly less decadent texture.
The Star of the Show:
- Peanut Butter Cups: (8-10 full-size, or 30-40 mini, chopped) I highly recommend using the mini cups and giving them a rough chop. This distributes the peanut butter and chocolate pockets more evenly throughout the entire cake. Using a mix of mini and chopped full-size is the ultimate luxury.
The Butter Topping:
- Unsalted Butter: (1 cup, or 2 sticks, melted) This is what transforms the dry cake mix into that iconic, golden, crisp, and crumbly topping. Using unsalted butter allows you to control the saltiness, especially since the other ingredients contain salt.
The Optional Garnish:
- Vanilla Ice Cream: Absolutely non-negotiable for serving. The contrast of the warm, rich cake with the cold, creamy ice cream is a core part of the experience.
How to Make Peanut Butter Cup Dump Cake
Now that you have your ingredients ready, let’s dive into the steps for making this delightful Peanut Butter Cup Dump Cake. It’s as easy as pie, and I promise you’ll feel like a culinary superstar!
Step 1: Prep and Preheat
Preheat your oven to 350°F (175°C). Grease a 9×13 inch baking dish thoroughly with butter or non-stick cooking spray. This is critical to prevent sticking.
Step 2: Create the Pudding Layer
In your prepared baking dish, whisk together the dry chocolate pudding mix and the cold milk. Whisk vigorously for a full 2 minutes until it is smooth and begins to thicken slightly.
Step 3: Add the Dry Cake Mix
Sprinkle the entire box of dry chocolate cake mix evenly over the top of the pudding layer. Do not stir it in. Simply spread it out into a uniform layer using the back of a spoon or a spatula.
Step 4: Drizzle the Peanut Butter
Dollop the creamy peanut butter evenly over the dry cake mix layer. Use a spoon to gently swirl it into the cake mix just a little, but do not mix it in completely. You want pockets of peanut butter.
Step 5: Add the Peanut Butter Cups
Sprinkle the chopped peanut butter cups evenly over the entire surface. Press them down lightly into the dry layers.
Step 6: The Butter Drizzle
Slowly and evenly drizzle the melted unsalted butter over the entire surface of the cake. Try to cover as much of the dry cake mix as possible. This is what will create the coveted crumbly topping.
Step 7: Bake to Perfection
Place the baking dish in the preheated oven and bake for 40-50 minutes. The cake is done when the top is golden brown, crisp, and looks dry. The edges will be bubbly, and the center may still have a very slight jiggle—this is okay, as it will set up more as it cools.
Step 8: Rest and Serve
Remove the cake from the oven and let it cool on a wire rack for at least 20-30 minutes before serving. This allows the molten layers underneath to set slightly, making it easier to scoop. Serve warm, ideally à la mode.
Tips for Success
- Don’t Mix!: The key to the perfect dump cake texture is layering, not mixing. The ingredients will combine and find their place in the oven.
- Butter Coverage: Take your time drizzling the butter. If you see large dry spots of cake mix after drizzling, add a little more melted butter to those areas to ensure everything gets moistened and bakes up crispy.
- Check for Doneness: Ovens vary. The top should be uniformly golden and crisp. If the top is browning too quickly but the center is still very liquid, tent the pan loosely with foil for the remainder of the baking time.
- Let it Rest: The resting time is not optional. Cutting into the cake too early will result in a soupy mess. The waiting period is crucial for the layers to set.
- Chop the Candy: Chopping the peanut butter cups, even the minis, ensures you get a bit in every bite and prevents large, overly hard chunks after baking.
Equipment Needed
- A 9×13 inch baking dish
- Measuring cups
- Whisk
- Spoon or spatula for spreading
- Microwave-safe bowl for melting butter
Variations of Peanut Butter Cup Dump Cake
- Cookies & Cream: Use chocolate cake mix, white chocolate or cheesecake instant pudding, and top with chopped Oreos instead of peanut butter cups.
- Salted Caramel Pretzel: Use chocolate cake mix, add ½ cup of caramel sauce drizzled over the peanut butter layer, and top with chopped peanut butter cups and crushed pretzels for a sweet and salty crunch.
- Nutella Swirl: Substitute the peanut butter with an equal amount of Nutella for a hazelnut-chocolate twist.
- Triple Chocolate: Use chocolate cake mix, chocolate pudding, and top with dark chocolate chips and chocolate chunks instead of peanut butter cups.
- Peanut Butter Lover’s: Use a yellow or peanut butter cake mix instead of chocolate for an even more intense peanut butter flavor.
Serving Suggestions for Peanut Butter Cup Dump Cake
- A La Mode: This is mandatory. A large scoop of high-quality vanilla ice cream is the perfect creamy, cold contrast to the warm, rich cake.
- Whipped Cream: A giant dollop of freshly whipped cream or even canned whipped cream is a classic topping.
- Drizzle: Right before serving, drizzle with extra melted peanut butter, hot fudge sauce, or caramel sauce for an over-the-top dessert experience.
- For a Crowd: Serve it directly from the pan alongside all the toppings and let everyone build their own dessert bowl.
Prep Time: 10 minutes
Cooking Time: 45 minutes
Total Time: 55 minutes (plus cooling time)
Servings: 12
Nutritional Information (Per serving, estimated)
- Calories: ~580
- Protein: 8g
- Sodium: ~650mg
- Sugar: 55g
- Fat: 32g (Saturated Fat: 14g)
- Carbohydrates: 70g
- Fiber: 2g
Please note: Nutritional information is an estimate only and can vary greatly based on specific ingredients used and portion sizes. This is a decadent dessert.
FAQs about Peanut Butter Cup Dump Cake
Can I use a different size pan?
A 9×13 inch is ideal. A 10-inch cast-iron skillet also works wonderfully and can go from oven to table. A smaller pan will result in a thicker, potentially undercooked center, while a larger pan will make a thinner cake that may dry out.
Why is my dump cake soggy?
Sogginess is usually caused by three things: 1) Not using instant pudding, 2) Underbaking, or 3) Not letting it cool enough before serving. The cooling time is essential for the pudding layer to set.
Can I make this ahead of time?
You can assemble the entire cake up to the point of baking (through Step 6), cover it tightly, and refrigerate it for up to 8 hours before baking. You may need to add a few minutes to the baking time since it will be starting from cold.
How do I store leftovers?
Cover the baking dish tightly with foil or plastic wrap and store it at room temperature for up to 2 days. For longer storage, refrigerate for up to 5 days. Reheat individual portions in the microwave for 20-30 seconds to restore that gooey, warm texture.
Can I use homemade cake mix?
Yes, you can use a homemade “from-scratch” cake mix blend. You will need approximately 3 ½ cups of dry mix. However, the convenience of this recipe is the store-bought mix, and the results are reliably excellent.
Final Thoughts
The Peanut Butter Cup Dump Cake is a testament to the idea that the best things in life don’t have to be complicated. It is a dessert that celebrates simplicity, joy, and the timeless combination of chocolate and peanut butter. The magic of watching a few dumped ingredients transform in the oven into a complex, multi-textured dessert never gets old. It is the ultimate recipe to have in your back pocket—a guaranteed way to bring a smile to anyone’s face with minimal effort. It’s forgiving, customizable, and universally beloved. So, the next time you need a dessert that promises maximum praise for minimum pain, remember this recipe. Grab your ingredients, embrace the “dump,” and get ready to create a warm, gooey, and unforgettable treat that will have everyone asking for the recipe.


