
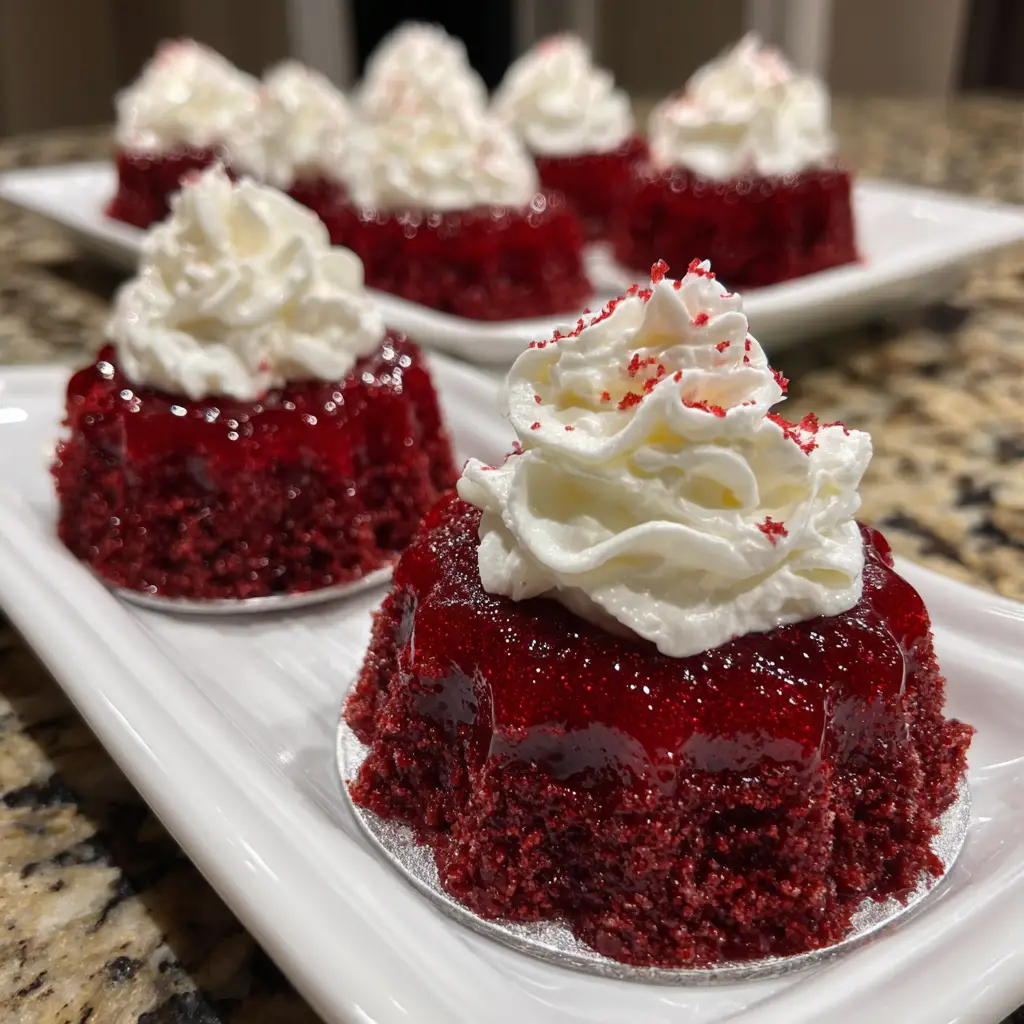
Mini Red Velvet Jello Cups are a whimsical, vibrant, and delightfully nostalgic dessert that reimagines the beloved flavors of red velvet cake in a fun, wobbly, and completely no-bake format. Imagine layers of creamy, cheesecake-infused white chocolate “cake” nestled between vibrant, crimson red gelatin that carries the subtle, nostalgic tang of buttermilk and cocoa. These charming individual cups are a playful twist on a classic, offering all the iconic flavor notes, the hint of cocoa, the tang of buttermilk, and the creamy richness, without any of the baking. Topped with a dollop of fluffy whipped cream and a sprinkle of red velvet cake crumbs or a single chocolate pearl, they are as adorable as they are delicious. Perfect for Valentine’s Day, children’s parties, summer picnics, or as a light yet festive end to a meal, these jello cups are a conversation-starting dessert that brings joy with their jiggle and their familiar, comforting taste in a refreshingly cool new form.
Why Is This Mini Red Velvet Jello Cups Recipe So Popular?
The recipe’s popularity is built on its ingenious fusion of novelty, simplicity, and universally loved flavors. First, it presents a classic cake flavor in a surprising, fun format. The “jello” aspect is inherently playful and appeals to both children and adults, making it a standout on any dessert table. Second, it is completely no-bake and requires minimal effort. With just a few ingredients and some layering time, anyone can create a stunning, layered dessert that looks far more complex than it is. Third, its individual serving size is perfectly convenient. The single-serving cups are portable, eliminate portioning hassles, and are ideal for parties and gatherings. Furthermore, its popularity is sustained by its stunning visual appeal and make-ahead convenience. The bright red and creamy white layers are eye-catching and festive, and the dessert must chill to set, meaning it can be prepared a full day (or more) in advance. It’s popular because it delivers a dose of whimsy, recognizable flavor, and stress-free preparation in one delightful package.
Why You’ll Love This Mini Red Velvet Jello Cups:
- No-Bake & Incredibly Easy: A foolproof dessert with simple steps and no oven required.
- Fun and Festive Presentation: The layered red and white cups are adorable and perfect for holidays.
- Light and Refreshing: A cool, jiggly dessert that’s lighter than actual cake but just as flavorful.
- Perfect for Parties: Easy to make in large batches and serve straight from the fridge.
- Great for All Ages: Kids love the jiggle and sweetness; adults appreciate the clever flavor twist.
Here’s what you’ll need:
For the Red Velvet Jello Layer:
- 2 (3 oz) boxes of raspberry or strawberry gelatin (like Jell-O)
- 2 cups (480ml) boiling water
- 1 cup (240ml) cold buttermilk
- 2 tablespoons unsweetened cocoa powder (regular, not Dutch-process)
- 1 teaspoon white vinegar
- 1 teaspoon pure vanilla extract
- Red gel food coloring (optional, for a deeper, truer red color)
For the Cream Cheese “Cake” Layer:
- 1 (8 oz) package full-fat cream cheese, softened to room temperature
- ⅓ cup (40g) powdered sugar, sifted
- 1 teaspoon pure vanilla extract
- 1 cup (240ml) heavy cream, cold
- 4 ounces white chocolate, melted and cooled slightly (or ¼ cup white chocolate chips, melted)
For Assembly & Garnish:
- 12-16 small clear plastic or glass dessert cups (4-6 oz capacity)
- Sweetened whipped cream or whipped topping
- Red velvet cake crumbs, chocolate shavings, or mini chocolate chips for garnish
How to Make Mini Red Velvet Jello Cups:
Now that you have your ingredients ready, let’s dive into the steps for making this delightful Mini Red Velvet Jello Cups. It’s as easy as pie, and I promise you’ll feel like a culinary superstar!
Step 1: Dissolve the Gelatin and Cocoa
In a large heatproof bowl, sprinkle the gelatin packets and cocoa powder over the boiling water. Whisk vigorously for at least 2 minutes until both the gelatin and cocoa are completely dissolved and no lumps remain.
Step 2: Flavor the Red Velvet Jello
Whisk in the cold buttermilk, white vinegar, and vanilla extract until fully combined. The buttermilk and vinegar provide the classic red velvet “tang.” Taste the mixture. If you desire a more vibrant red color (as the cocoa will tint it brownish-red), whisk in several drops of red gel food coloring until you achieve a deep red velvet hue. Let this mixture cool at room temperature for about 20-25 minutes, until it is just slightly warm to the touch and has begun to thicken to the consistency of egg whites. This prevents the layers from mixing when poured.
Step 3: Create the Cream Cheese Layer
While the jello cools, make the cream cheese layer. In a medium bowl, beat the softened cream cheese with an electric mixer until smooth. Beat in the powdered sugar and vanilla until combined. With the mixer on low, slowly pour in the slightly cooled, melted white chocolate until fully incorporated. In a separate chilled bowl, whip the cold heavy cream to stiff peaks. Gently fold the whipped cream into the cream cheese mixture in two additions until no white streaks remain. Be careful not to deflate the mixture.
Step 4: Assemble the First Layers
Arrange your dessert cups on a tray. Once the red velvet jello mixture has cooled and thickened slightly, pour or spoon it into the cups, filling each one-third to halfway full. Carefully transfer the tray to the refrigerator. Chill for 45 minutes to 1 hour, or until the jello layer is set enough that it doesn’t ripple when you gently touch the surface but is not fully firm (it should be tacky).
Step 5: Add the Cream Cheese Layer
Once the jello is partially set, remove the cups from the fridge. Spoon or pipe the cream cheese mixture over the jello layer, dividing it evenly among the cups. Gently smooth the tops. Return the tray to the refrigerator and chill for at least 2 hours, or until the cream cheese layer is firm and the jello below is completely set.
Step 6: Final Garnish and Serve
Just before serving, top each cup with a generous dollop or rosette of sweetened whipped cream. Garnish with a sprinkle of red velvet cake crumbs, chocolate shavings, or a few mini chocolate chips.
Step 7: Enjoy the Jiggle!
Serve the cups chilled. The contrast between the firm, creamy top layer and the jiggly, fruity-tangy bottom layer is part of the fun.
Tips for Success:
- Dissolve Completely: Whisk the gelatin and cocoa into the boiling water thoroughly to avoid any grainy bits.
- Cool the Jello Mixture: This is the most important step for clean layers. If the jello is too hot when you pour the cream layer on top, it will melt and mix.
- Partial Set is Key: The jello layer should be tacky on the surface (like the consistency of unbeaten egg whites) when you add the cream cheese layer. This helps the layers bond.
- Room Temperature Cream Cheese: Essential for a smooth, lump-free cream cheese mixture.
- Use Gel Food Coloring: Liquid food coloring will dilute the mixture. Gel coloring provides vibrant color without altering consistency.
- Make Ahead: These are perfect for making 1-2 days in advance. Add the whipped cream garnish within an hour of serving.
Equipment Needed:
- 12-16 Clear Dessert Cups
- Large Heatproof Bowl
- Whisk
- Electric Mixer
- Measuring Cups & Spoons
- Spatula
- Piping Bag (optional, for neat layers)
Variations of Mini Red Velvet Jello Cups:
- Chocolate Jello Version: Use chocolate gelatin and increase the cocoa powder for a double-chocolate effect.
- Layered Parfait: In a tall glass, create alternating layers of red jello, cream cheese mixture, and crushed vanilla wafers.
- Vegan Version: Use agar-agar instead of gelatin, plant-based cream cheese, coconut cream for whipping, and dairy-free white chocolate.
- Cupcake Style: Serve in clear cupcake liners placed in a muffin tin for a “cupcake” look.
- With a Brownie Bottom: Place a small cube of brownie or a layer of crushed Oreos in the bottom of the cup before adding the jello.
- Sparkling Red Velvet: Replace ½ cup of the cold water in the gelatin instructions with chilled ginger ale or cream soda for a fizzy twist.
Serving Suggestions for Mini Red Velvet Jello Cups:
- At a Children’s Birthday Party: A huge hit that’s less messy than cake and ice cream.
- For Valentine’s Day: The perfect red and white themed dessert.
- On a Summer BBQ Dessert Table: A cool, refreshing option alongside fruit and cookies.
- As a Fun School Treat: Easy to transport and serve in the classroom.
- For a Bridal or Baby Shower: A dainty, colorful addition to a dessert spread.
Prep Time:
30 minutes (plus several hours chilling)
Cooking Time:
5 minutes (for boiling water)
Total Time:
35 minutes (plus 4+ hours chilling)
Nutritional Information:
(Estimated per cup, based on 14 cups)
- Calories: ~210
- Protein: 4g
- Sodium: ~140mg
- Sugar: 20g
- Fat: 13g (Saturated Fat: 8g)
- Carbohydrates: 22g
- Fiber: 0g
FAQs about Mini Red Velvet Jello Cups:
Q: Can I use sugar-free gelatin?
A: Yes, you can use sugar-free gelatin. Be aware that it may alter the sweetness and texture slightly, and the buttermilk adds some sugar.
Q: Why buttermilk and vinegar? Can I use regular milk?
A: The buttermilk and vinegar are crucial for mimicking the distinctive tangy flavor of red velvet cake. Using regular milk will result in a flatter, less authentic taste.
Q: My layers mixed together. What happened?
A: The red velvet jello layer was either not cooled enough or not set enough before adding the cream cheese layer. Ensure it has cooled to room temp and is tacky on the surface.
Q: Can I make one large dish instead of individual cups?
A: Absolutely. Use a 9×9 inch glass dish. The layering process is the same, but chilling times may be slightly longer. Cut into squares to serve.
Q: How long do these keep in the fridge?
A: They keep well, covered, for 3-4 days. The texture of the jello may begin to soften the cream cheese layer slightly after 2 days, but they are still delicious.
Q: What can I use instead of white chocolate?
A: You can omit it for a tangier cream cheese flavor, or substitute with 2 additional tablespoons of powdered sugar. The white chocolate adds sweetness and helps stabilize the cream layer.
Final Thoughts:
Mini Red Velvet Jello Cups are a testament to the fun and creativity of home cooking. They prove that you don’t need complex techniques to create a dessert that brings smiles, sparks conversation, and satisfies a sweet tooth. This recipe is a joyful project that yields a charming, delicious result perfect for sharing. Whether you’re introducing kids to a classic flavor in a new way or serving up a nostalgic yet novel treat to friends, these jiggly, layered cups are sure to be a memorable hit. So, break out the gelatin, whisk in that cocoa, and prepare to make a batch of these delightful, wobbly wonders that celebrate flavor and fun in every spoonful.


