
Introduction to Herbed Garlic Bagel Spread Recipe
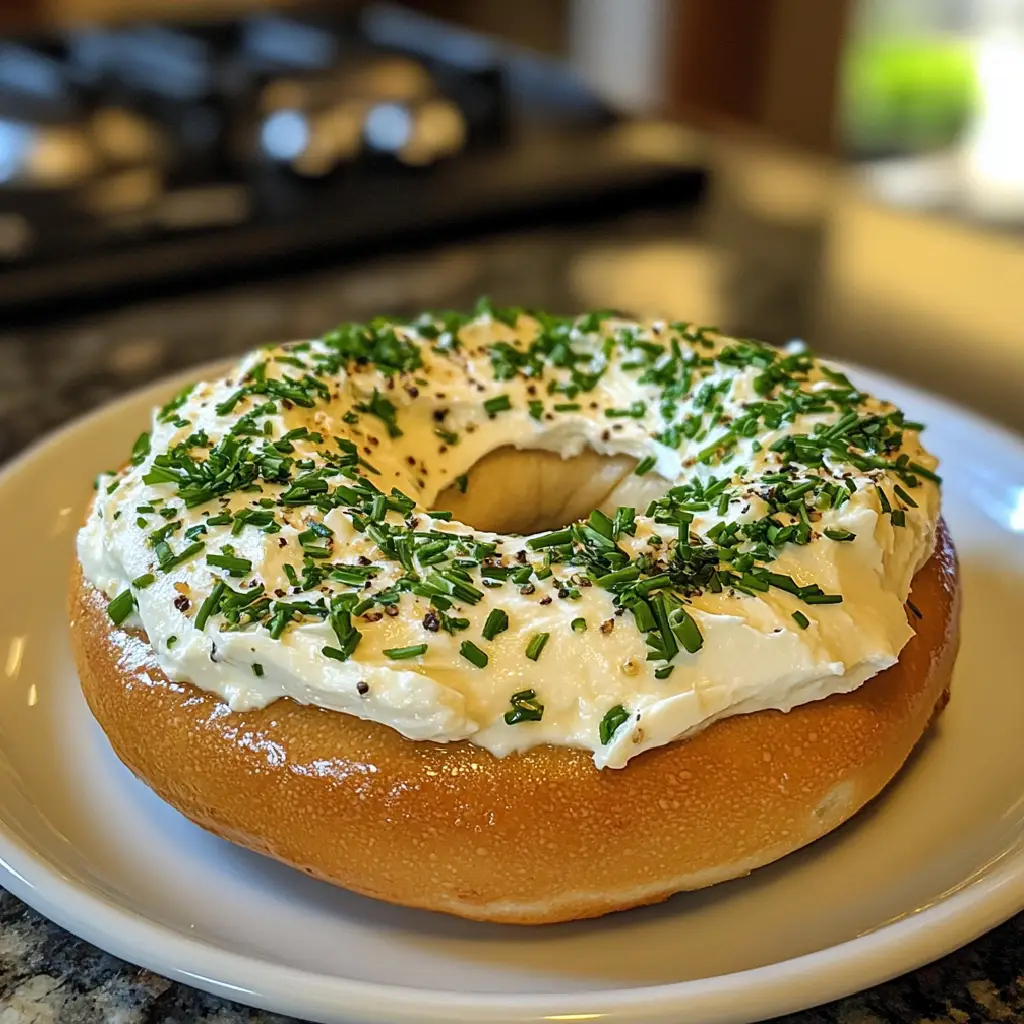
As a passionate home cook, I find joy in creating simple yet delightful recipes that can elevate any meal. One of my all-time favorites is the Herbed Garlic Bagel Spread. This spread is not just a condiment; it’s a burst of flavor that transforms a plain bagel into a gourmet experience. I remember the first time I whipped it up for a brunch gathering. The aroma of fresh herbs and roasted garlic filled my kitchen, drawing my friends in like bees to honey. They couldn’t wait to slather it on their bagels, and the smiles on their faces were priceless.
What I love most about this recipe is its versatility. You can enjoy it for breakfast, as a snack, or even as a party appetizer. It’s perfect for those lazy Sunday mornings when you want something special without spending hours in the kitchen. Plus, it’s incredibly easy to make! With just a handful of ingredients, you can create a spread that’s creamy, herby, and oh-so-delicious.
In this article, I’ll guide you through the process of making this delightful Herbed Garlic Bagel Spread. I’ll share my tips and tricks, ensuring that you can recreate this culinary gem in your own kitchen. So, roll up your sleeves, and let’s dive into the world of flavors that this spread has to offer!
Ingredients for Herbed Garlic Bagel Spread Recipe
Before we dive into the cooking process, let’s gather our ingredients. Having everything ready makes the cooking experience smoother and more enjoyable. I always say, the quality of your ingredients can make or break a dish. So, let’s make sure we’re using the best!
Main Ingredients
- 8 oz cream cheese, softened
- 2 cloves garlic, minced
- 1 tablespoon fresh chives, chopped
- 1 tablespoon fresh parsley, chopped
- 1 teaspoon lemon juice
- Salt and pepper to taste
When choosing cream cheese, I recommend going for a full-fat version for that rich, creamy texture. If you’re feeling adventurous, try using a flavored cream cheese for an extra twist! Fresh herbs are a must; they bring a vibrant flavor that dried herbs simply can’t match. I often find my herbs at local farmers’ markets, where they’re fresh and fragrant.
Optional Add-ons
- 1 tablespoon fresh dill, chopped
- 1 teaspoon red pepper flakes for a kick
- 1 tablespoon capers, rinsed and chopped
- 1 tablespoon sun-dried tomatoes, finely chopped
These optional ingredients can add a unique flair to your spread. For instance, dill gives a lovely freshness, while red pepper flakes can spice things up. I once added sun-dried tomatoes, and it was a game-changer! Feel free to mix and match based on your taste preferences. The beauty of this recipe is its flexibility, allowing you to create a spread that’s uniquely yours.
How to Prepare Herbed Garlic Bagel Spread Recipe
Now that we have our ingredients ready, it’s time to roll up our sleeves and get cooking! Making the Herbed Garlic Bagel Spread is a breeze, and I promise you’ll be amazed at how quickly it comes together. Let’s break it down step by step, so you can create this delicious spread with confidence.
Step 1: Gather Your Ingredients
First things first, let’s make sure we have everything we need. I like to lay out all my ingredients on the counter. It not only keeps me organized but also gets me excited about the cooking process. Here’s what you’ll need:
- 8 oz cream cheese, softened
- 2 cloves garlic, minced
- 1 tablespoon fresh chives, chopped
- 1 tablespoon fresh parsley, chopped
- 1 teaspoon lemon juice
- Salt and pepper to taste
Tips for Ingredient Quality
When it comes to the cream cheese, I always opt for a full-fat version. It gives the spread that luscious, creamy texture we all love. Fresh herbs are key! I often visit my local farmers’ market to find the freshest chives and parsley. Trust me, the flavor difference is worth it!
Step 2: Mix the Base Ingredients
Once you have everything ready, it’s time to mix! In a medium-sized bowl, add the softened cream cheese, minced garlic, and lemon juice. Using a fork or a hand mixer, blend these ingredients until they’re smooth and creamy. This is where the magic begins!
Tips for Achieving the Right Consistency
If your cream cheese is too firm, you can microwave it for about 10 seconds to soften it up. Just be careful not to overdo it! You want a spreadable consistency, not a melted mess.
Step 3: Incorporate Fresh Herbs and Garlic
Now comes the fun part! Add the chopped chives and parsley to the creamy mixture. Stir gently to combine, allowing the herbs to infuse their vibrant flavors into the spread. The colors will brighten up your bowl, making it look as good as it tastes!
Tips for Chopping Herbs
When chopping herbs, I like to use a sharp knife for a clean cut. It helps release the essential oils, enhancing the flavor. If you’re unsure about your chopping skills, just remember: it doesn’t have to be perfect! A rough chop works just fine.
Step 4: Adjust Seasoning to Taste
Finally, it’s time to season! Sprinkle in some salt and pepper, and give it a taste. This is your chance to make it just right. If you want a little zing, add more lemon juice or even a pinch of red pepper flakes for a kick!
Tips for Balancing Flavors
Don’t be afraid to experiment! If you find it too tangy, a touch of honey can balance the flavors beautifully. Remember, cooking is all about personal preference, so trust your taste buds!
Equipment Needed for Herbed Garlic Bagel Spread Recipe
Creating the Herbed Garlic Bagel Spread is a delightful experience, and having the right tools can make it even easier. Here’s a quick list of the equipment you’ll need:
- Mixing Bowl: A medium-sized bowl is perfect for combining all your ingredients. If you don’t have one, any large bowl will do!
- Fork or Hand Mixer: A fork works well for mixing, but if you have a hand mixer, it can make the process quicker and smoother.
- Knife: A sharp knife is essential for chopping your fresh herbs. If you’re not comfortable with a knife, kitchen scissors can be a great alternative!
- Measuring Spoons: Accurate measurements are key to achieving the perfect flavor balance. If you don’t have measuring spoons, you can use a regular spoon, just keep in mind that it may not be as precise.
- Spatula: A spatula is handy for scraping down the sides of the bowl and ensuring everything is well mixed.
With these simple tools, you’ll be well on your way to whipping up a delicious Herbed Garlic Bagel Spread. Remember, cooking is about creativity, so feel free to use what you have on hand!
Variations of Herbed Garlic Bagel Spread Recipe
One of the things I adore about the Herbed Garlic Bagel Spread is its adaptability. You can easily switch things up to suit your taste or the occasion. Here are a few variations that I’ve tried and loved:
- Smoky Paprika Twist: Add a teaspoon of smoked paprika for a warm, smoky flavor. It pairs beautifully with the garlic and herbs, giving your spread a unique depth.
- Sun-Dried Tomato Delight: Incorporate finely chopped sun-dried tomatoes for a burst of sweetness and a pop of color. This variation is perfect for summer gatherings!
- Spicy Kick: If you’re a fan of heat, toss in some diced jalapeños or a dash of hot sauce. It adds a fiery twist that will wake up your taste buds!
- Herb Medley: Experiment with different herbs like basil, cilantro, or tarragon. Each herb brings its own personality, making the spread exciting and fresh.
These variations not only keep things interesting but also allow you to showcase your creativity in the kitchen. I love to mix and match based on what I have on hand or what I’m in the mood for. The possibilities are endless, and that’s what makes this spread so special!
Cooking Notes for Herbed Garlic Bagel Spread Recipe
As I’ve experimented with the Herbed Garlic Bagel Spread over the years, I’ve gathered a few cooking notes that can help you achieve the best results. These little tips can make a big difference in flavor and texture!
- Room Temperature Ingredients: Make sure your cream cheese is at room temperature before mixing. This ensures a smooth and creamy spread without any lumps. I usually take it out of the fridge about 30 minutes before I start.
- Freshness is Key: Always use fresh herbs for the best flavor. Dried herbs can work in a pinch, but they won’t give you that vibrant taste that fresh herbs provide. I often find that a quick trip to the local market yields the best results!
- Make Ahead: This spread can be made a day in advance. In fact, letting it sit in the fridge for a few hours or overnight allows the flavors to meld beautifully. Just remember to give it a good stir before serving!
- Storage: Store any leftovers in an airtight container in the fridge. It should last about a week, but I doubt it will last that long once you taste it!
These cooking notes are my little secrets to making the Herbed Garlic Bagel Spread a hit every time. I hope they help you create a spread that’s not only delicious but also a joy to make!
Serving Suggestions for Herbed Garlic Bagel Spread Recipe
Now that you’ve created your delicious Herbed Garlic Bagel Spread, it’s time to enjoy it! The beauty of this spread is its versatility, making it perfect for various occasions. Here are some of my favorite serving suggestions that will surely impress your family and friends:
- Classic Bagels: Of course, the traditional way to enjoy this spread is on a toasted bagel. Whether you prefer plain, everything, or sesame bagels, the Herbed Garlic Bagel Spread will elevate your breakfast or brunch.
- Veggie Platter: Serve it as a dip alongside a colorful array of fresh vegetables like carrots, cucumbers, and bell peppers. It’s a fantastic way to add flavor to your healthy snacks!
- Crackers and Bread: Spread it on your favorite crackers or slices of crusty bread for a delightful appetizer. It’s perfect for gatherings or casual get-togethers.
- Sandwich Spread: Use it as a flavorful spread in sandwiches or wraps. It pairs wonderfully with turkey, chicken, or roasted vegetables, adding a creamy and herby touch.
- Breakfast Bowls: Mix a dollop into your morning scrambled eggs or avocado toast for an extra burst of flavor. It’s a simple way to make your breakfast feel gourmet!
These serving suggestions are just the tip of the iceberg! I love experimenting with different pairings, and I encourage you to get creative. The Herbed Garlic Bagel Spread is sure to become a staple in your kitchen, bringing joy and flavor to every meal!
Tips for Making the Best Herbed Garlic Bagel Spread Recipe
Creating the perfect Herbed Garlic Bagel Spread is all about the little details. Here are some of my top tips to ensure your spread turns out absolutely delicious every time:
- Use Fresh Ingredients: Fresh herbs and garlic are the stars of this recipe. Their vibrant flavors will shine through, making your spread irresistible. I always recommend checking your herbs for freshness before using them.
- Experiment with Textures: If you like a bit of crunch, consider adding finely chopped nuts or seeds. They can add a delightful texture that contrasts beautifully with the creamy spread.
- Let It Chill: After mixing, let your spread chill in the fridge for at least an hour. This allows the flavors to meld together, creating a more harmonious taste. Trust me, it’s worth the wait!
- Adjust to Your Taste: Don’t hesitate to tweak the seasoning. If you love garlic, add an extra clove. If you prefer a tangy flavor, a splash more lemon juice can do wonders. Cooking is all about personal preference!
- Presentation Matters: When serving, consider garnishing with a sprinkle of fresh herbs or a drizzle of olive oil. It not only looks beautiful but also adds an extra layer of flavor.
With these tips in your back pocket, you’ll be well on your way to making the best Herbed Garlic Bagel Spread that will impress everyone at your table. Happy cooking!
Breakdown of Time for Herbed Garlic Bagel Spread Recipe
One of the best things about the Herbed Garlic Bagel Spread is how quick and easy it is to prepare. Whether you’re in a rush or just want to whip up something delicious, this recipe fits perfectly into your schedule. Here’s a simple breakdown of the time you’ll need:
- Prep Time: 10 minutes
- Cooking Time: 0 minutes (no cooking required!)
- Total Time: 10 minutes
As you can see, you can have this delightful spread ready in just about 10 minutes! I love how it allows me to spend more time enjoying my meal rather than slaving away in the kitchen. Plus, if you decide to let it chill in the fridge for a bit, it only gets better with time. So, whether you’re preparing for a brunch or a cozy evening snack, this Herbed Garlic Bagel Spread is a fantastic choice that won’t keep you waiting!
Nutritional Information for Herbed Garlic Bagel Spread Recipe
As a home cook, I always pay attention to the nutritional value of the dishes I prepare. The Herbed Garlic Bagel Spread is not only delicious but also offers a good balance of nutrients. Here’s a quick overview of the nutritional information per serving (approximately 2 tablespoons):
- Calories: 80
- Protein: 2g
- Fat: 7g
- Carbohydrates: 2g
- Fiber: 0g
- Sugar: 1g
- Sodium: 120mg
This spread is rich in flavor while being relatively low in calories, making it a great addition to your meals. The cream cheese provides a creamy texture, while the fresh herbs and garlic add a burst of flavor without piling on the calories. Plus, you can easily adjust the ingredients to suit your dietary needs. For instance, using low-fat cream cheese can reduce the fat content, while adding more herbs can boost the nutritional profile.
Enjoying this Herbed Garlic Bagel Spread is a delightful way to add flavor to your meals without compromising on nutrition. It’s a win-win in my book!
Frequently Asked Questions about Herbed Garlic Bagel Spread Recipe
As I’ve shared my Herbed Garlic Bagel Spread recipe with friends and family, I’ve noticed a few common questions pop up. I love answering these queries because it shows just how much interest there is in this delicious spread! Here are some of the most frequently asked questions, along with my personal insights:
Can I use low-fat cream cheese instead of regular?
Absolutely! While I prefer the rich texture of full-fat cream cheese, low-fat options can work just as well. Just keep in mind that the flavor and creaminess might be slightly different. If you go this route, consider adding a bit more garlic or herbs to enhance the taste!
How long can I store the Herbed Garlic Bagel Spread?
You can store this spread in an airtight container in the fridge for about a week. However, I doubt it will last that long once you taste it! The flavors only get better as it sits, so it’s a great make-ahead option.
Can I freeze the Herbed Garlic Bagel Spread?
While I don’t recommend freezing it, you can if you must. Just be aware that the texture may change once thawed. If you do freeze it, make sure to use a freezer-safe container and consume it within a month for the best quality.
What can I substitute for fresh herbs?
If you don’t have fresh herbs on hand, dried herbs can work in a pinch. Just remember that dried herbs are more concentrated, so use about one-third of the amount. For example, if the recipe calls for 1 tablespoon of fresh herbs, use only 1 teaspoon of dried herbs.
Can I add other ingredients to the spread?
Definitely! This spread is incredibly versatile. Feel free to experiment with different add-ins like roasted red peppers, olives, or even a splash of your favorite hot sauce. The sky’s the limit when it comes to flavor combinations!
These questions reflect the curiosity and creativity that many home cooks have when trying out new recipes. I hope my answers help you feel more confident in making your own Herbed Garlic Bagel Spread. Remember, cooking is all about having fun and making it your own!
Conclusion on Herbed Garlic Bagel Spread Recipe
In conclusion, the Herbed Garlic Bagel Spread is more than just a simple recipe; it’s a celebration of flavors that can elevate any meal. With its creamy texture and vibrant herbs, this spread brings joy to breakfast, snacks, and gatherings alike. I love how easy it is to whip up, making it a go-to option for both busy mornings and leisurely brunches with friends.
What truly makes this spread special is its versatility. Whether you stick to the classic ingredients or experiment with your favorite add-ons, the possibilities are endless. Each variation allows you to express your culinary creativity, ensuring that every batch is uniquely yours. Plus, the nutritional benefits make it a guilt-free indulgence!
So, the next time you’re looking to add a burst of flavor to your bagels or snacks, remember this delightful Herbed Garlic Bagel Spread. I hope you enjoy making it as much as I do, and that it brings smiles to your table just like it has to mine. Happy cooking!


