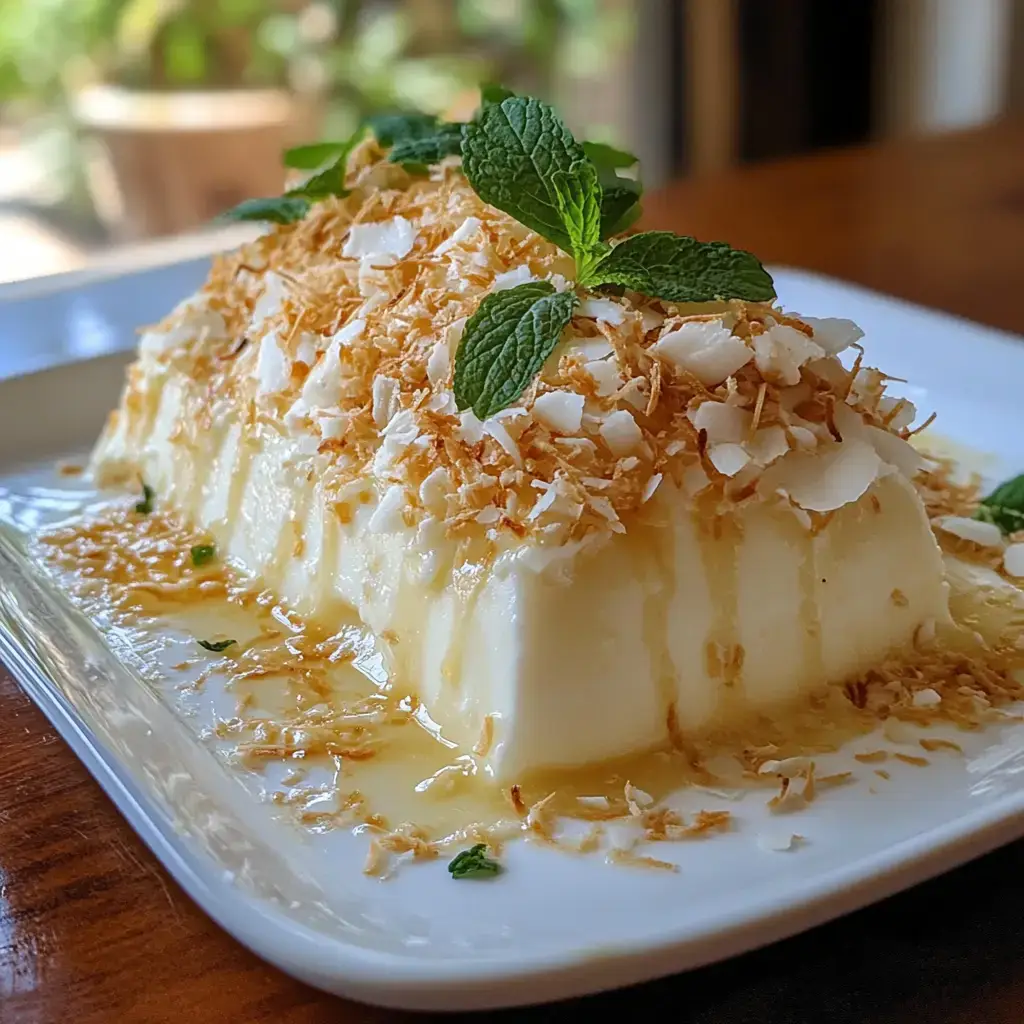
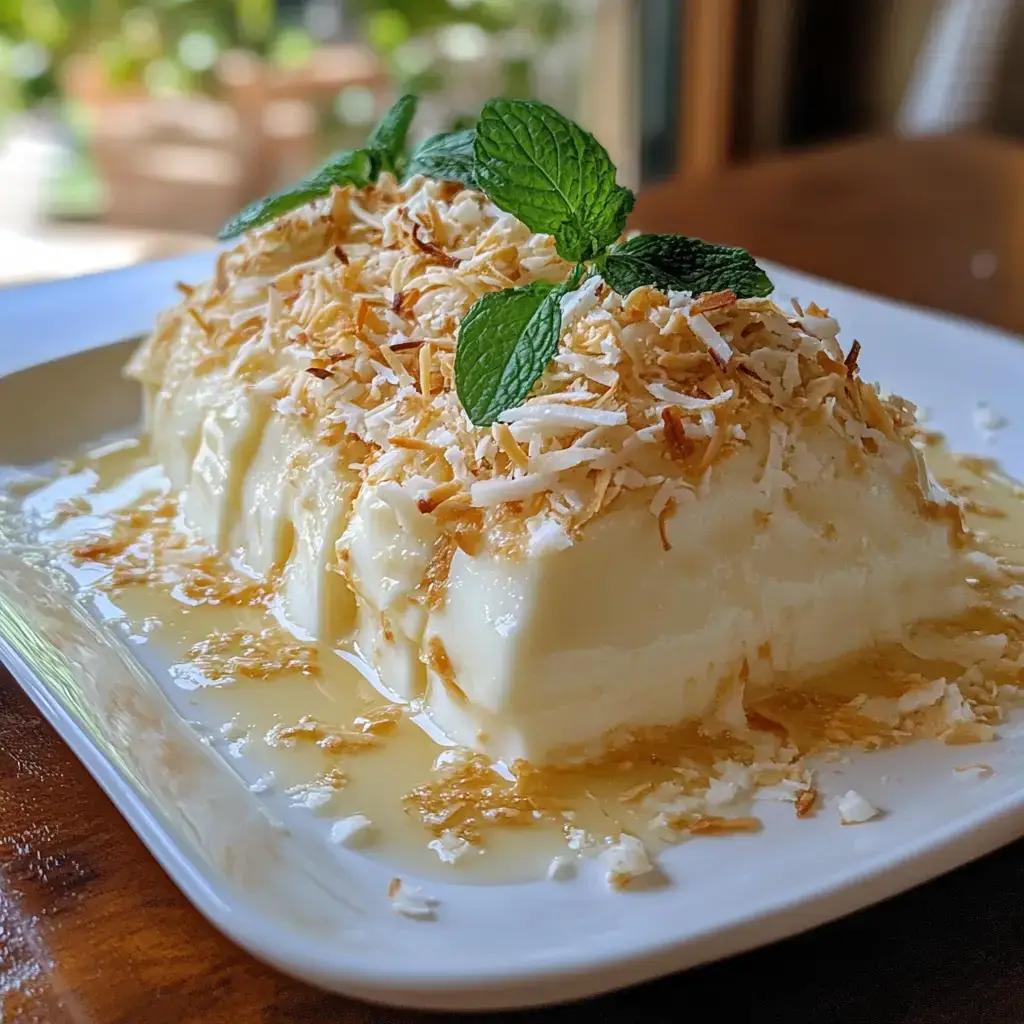
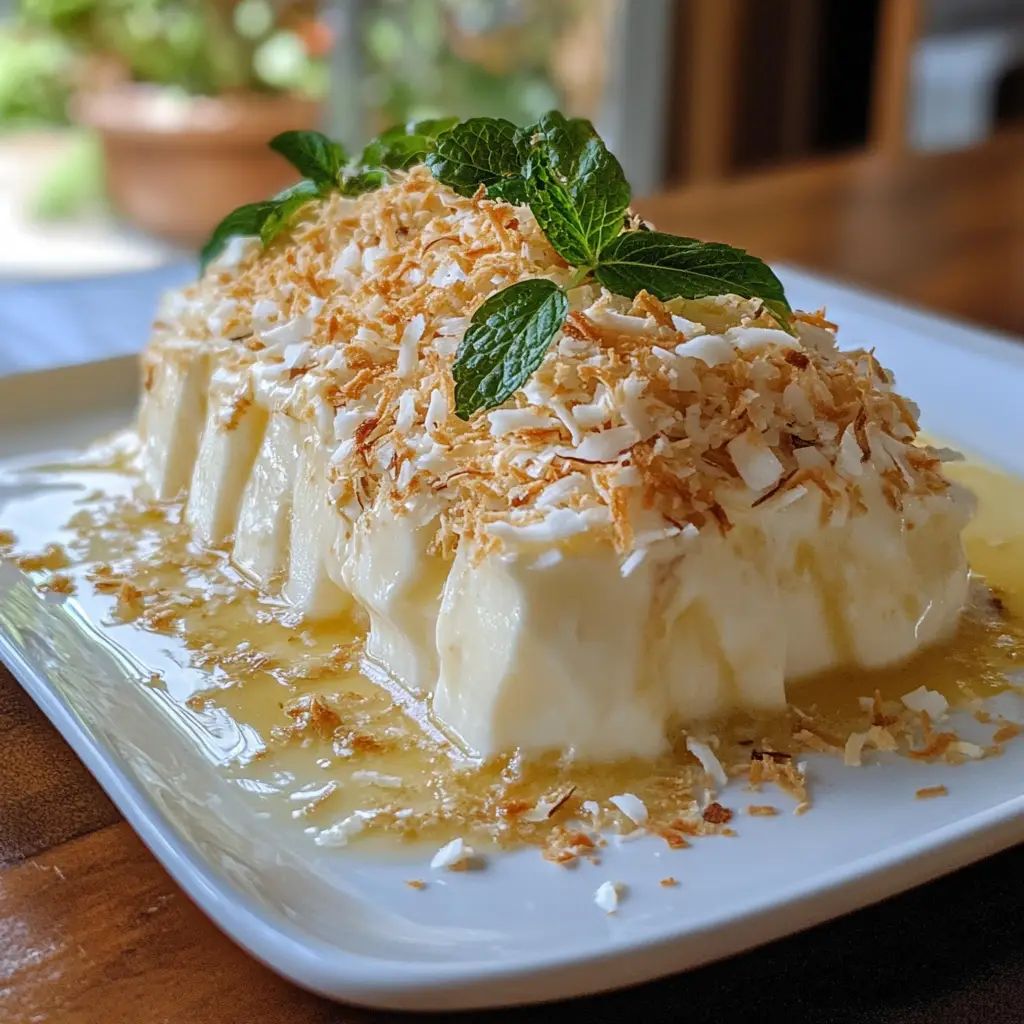
In the vast universe of no-bake confections, few treats are as universally beloved and effortlessly elegant as the Coconut and Condensed Milk Dessert. Known by many names across the globe, Coconut Ice in the United Kingdom and Commonwealth nations, or simply Coconut Fudge elsewhere, this dessert is a masterpiece of minimalism and texture. It is the sweet, chewy, and creamy embodiment of pure indulgence, requiring no oven, no complex techniques, and yet delivering a result that feels both nostalgic and sophisticated. Originating from a time when pantry staples were the heroes of home baking.
Why Is This Coconut and Condensed Milk Dessert So Popular?
The enduring popularity of this dessert rests on a foundation of several undeniable strengths. First and foremost is its sheer simplicity. In a world of complex patisserie, this recipe is a calming antidote. It has a very short ingredient list, all of which are shelf-stable and readily available year-round in any supermarket. This makes it the perfect “emergency dessert” for when unexpected guests arrive or a last-minute sweet craving strikes.
Secondly, its foolproof nature is a huge draw. There is no risk of over-baking, no delicate custards to curdle, no tempering of chocolate. The process is essentially mixing and setting, making it an absolutely fantastic recipe to make with children. It’s a guaranteed success, building confidence in novice bakers and providing a quick win for experienced ones.
Finally, its versatility and visual appeal cement its status. The classic pink and white look is instantly recognizable and charming. It can be cut into small cubes for a petit four effect, larger squares for a satisfying treat, or even shaped with cookie cutters for themed events. It’s a dessert that feels personal and handmade, offering a burst of joyful color and flavor that is irresistibly inviting.
Why You’ll Love This Coconut and Condensed Milk Dessert:
- No-Bake Wonder: Perfect for hot summer days when you don’t want to turn on the oven, or for kitchens lacking baking equipment.
- Incredibly Easy: If you can mix ingredients in a bowl, you can master this recipe. It’s virtually impossible to mess up.
- Customizable: Easily adapted with different colors, flavors, and add-ins to suit any season or preference.
- Make-Ahead Dream: This dessert actually improves in texture and flavor after a day in the fridge, making it the ultimate prepare-ahead treat for parties and gatherings.
- Crowd-Pleaser: Its sweet, creamy, and chewy profile has a universal appeal that delights both children and adults alike.
- Nostalgic Comfort: For many, the taste is a direct portal to childhood, evoking memories of grandmothers’ kitchens and school fairs.
Here’s what you’ll need:
Core Ingredients:
- 4 cups (approx. 400g) Desiccated Coconut or Fine Coconut Flakes: This is the star. Desiccated coconut provides a finer, more compact texture, while flakes offer a slightly chewier, more pronounced coconut experience. Do not use large, shredded coconut, as it won’t bind as well.
- 1 can (14 oz or 397g) Sweetened Condensed Milk: This is the glue and the sweetener. Its thick, sticky consistency is crucial for binding the coconut together. Do not substitute with evaporated milk or regular milk; they will not work.
- 2-3 cups (250g-375g) Confectioners’ Sugar (Icing Sugar): This adds structure, a smooth melt-in-the-mouth quality, and additional sweetness. The amount can be adjusted based on your desired sweetness level and the consistency of the mix.
- 1 teaspoon Vanilla Extract: A flavor enhancer that adds a warm, aromatic depth to the coconut.
For the Pink Layer (Optional but Traditional):
- 2-3 drops of Red or Pink Food Coloring: Use gel food coloring for a more vibrant color without adding extra liquid.
- A tiny drop of Raspberry or Strawberry Extract (optional): This can add a very subtle fruity note that complements the pink color beautifully.

How to Make Coconut and Condensed Milk Dessert:
Now that you have your ingredients ready, let’s dive into the steps for making this delightful Coconut and Condensed Milk Dessert. It’s as easy as pie, and I promise you’ll feel like a culinary superstar!
Step 1: Prepare the Pan
Take an 8×8 inch (20×20 cm) square baking pan. Line it thoroughly with parchment paper, ensuring there is some overhang on at least two opposite sides. This “sling” will make it incredibly easy to lift the entire set dessert out of the pan for clean cutting. Lightly grease the parchment paper with a neutral oil or butter to ensure absolutely no sticking.
Step 2: Combine the Base Mixture
In a large mixing bowl, combine the desiccated coconut and confectioners’ sugar. Use a whisk to mix them together. This initial whisking helps to break up any lumps in the sugar and ensures the coconut is evenly distributed, leading to a more uniform texture in the final product.
Step 3: Add the Wet Ingredients
Create a well in the center of the dry ingredients. Pour in the entire can of sweetened condensed milk and the vanilla extract. Begin to mix with a sturdy silicone spatula or a wooden spoon. The mixture will be very thick and might require some arm strength. Continue mixing until no dry spots remain and the coconut is completely coated in the sweet, sticky milk. The mixture should hold together when pressed.
Step 4: Divide and Color
Divide the mixture equally into two separate bowls. One half will remain plain white. To the other half, add your food coloring, one drop at a time, and mix thoroughly until you achieve your desired shade of pink. If using, add the fruit extract here as well.
Step 5: Press the First Layer
Take the white mixture and transfer it to your prepared pan. Using your fingers, the bottom of a flat-ended glass, or a small offset spatula, press the mixture firmly and evenly into the bottom of the pan. This compact pressing is vital for ensuring the dessert holds together when cut. Ensure you create a perfectly smooth and level surface.
Step 6: Add the Second Layer
Carefully spoon the pink mixture over the white layer. Gently spread it out with your hands or a spatula, then press it down every bit as firmly and evenly as you did the first layer. You want the two layers to fuse together seamlessly without any air gaps.
Step 7: Chill and Set
Cover the pan with cling film (plastic wrap) and place it in the refrigerator to set for a minimum of 4 hours, though overnight is ideal. This extended chilling time allows the condensed milk to fully hydrate the coconut and the sugars to crystallize slightly, giving the dessert its characteristic firm yet tender bite.
Tips for Success:
- Sift Your Sugar: For an ultra-smooth texture, sift your confectioners’ sugar to remove any lumps before mixing.
- Press Firmly: This is the most crucial step. Inadequate pressing will result in a crumbly dessert that falls apart when cut.
- Adjust Consistency: If your mixture seems too dry and isn’t holding together, add an extra teaspoon of condensed milk. If it seems too wet and sticky, add a tablespoon more of coconut or confectioners’ sugar.
- Sharp Knife is Key: Use a large, sharp knife to cut the set slab into squares. Wiping the knife clean with a hot, damp cloth between cuts will give you beautifully clean, sharp edges.
- Storage: Keep the squares in an airtight container in the refrigerator. They will keep beautifully for up to 2 weeks. They can also be frozen for up to 3 months; simply thaw in the fridge before serving.

Equipment Needed:
- 8×8 inch (20×20 cm) square baking pan
- Parchment paper
- Large mixing bowl
- Whisk
- Sturdy silicone spatula or wooden spoon
- Measuring cups and spoons
- Two smaller bowls for dividing the mixture (optional)
Variations of Coconut and Condensed Milk Dessert:
- Chocolate Coconut: Replace the pink layer by adding 2 tablespoons of sifted cocoa powder or melted and cooled dark chocolate to one half of the mixture.
- Tropical Twist: Add ½ cup of finely chopped dried mango, pineapple, or papaya to the mixture for a chewy, fruity surprise.
- Nutty Delight: Fold in ½ cup of finely chopped toasted almonds, macadamias, or pistachios for added crunch and flavor.
- Adult Version: Add a tablespoon of dark rum or Malibu coconut rum to the mixture for a sophisticated kick (ensure you reduce the condensed milk by a tablespoon to compensate for the extra liquid).
- Single Color: Simply skip the dividing step and make the entire batch one color—classic white or a festive color of your choice.
Serving Suggestions for Coconut and Condensed Milk Dessert:
- Serve small squares arranged on a vintage cake stand for an afternoon tea.
- Package them in small candy papers (cupcake liners) and box them up as a heartfelt homemade gift.
- Pair a square with a strong cup of black coffee or espresso to balance the sweetness.
- Crumble it over a bowl of vanilla ice cream or Greek yogurt for an incredible dessert parfait.
- Create a dessert platter with these squares, some chocolate truffles, and shortbread cookies for a variety of textures.
Prep Time:
20 minutes (plus at least 4 hours chilling time)
Cooking Time:
0 minutes
Total Time:
4 hours 20 minutes (mostly inactive chilling)
Nutritional Information (Estimated per serving, assumes 16 servings):
- Calories: ~320 kcal
- Protein: ~3g
- Sodium: ~50mg
- Sugar: ~35g
- Fat: ~15g (Saturated Fat: ~13g)
- Carbohydrates: ~45g
- Fiber: ~2g
Please note: This is an estimate and can vary significantly based on specific brands and measurements used.
FAQs about Coconut and Condensed Milk Dessert:
Q: Can I use fresh coconut instead of desiccated?
A: It is not recommended. Fresh coconut contains too much moisture and will make the mixture too wet, preventing it from setting properly. The dry texture of desiccated coconut is essential.
Q: My dessert is too crumbly. What went wrong?
A: The most common reasons are not pressing the mixture firmly enough into the pan, not using enough condensed milk, or not chilling it for long enough. Ensure you press with significant force and chill for a minimum of 4 hours.
Q: Can I make this dairy-free?
A: Yes! Use a plant-based sweetened condensed milk (coconut-based versions work wonderfully here) and ensure your sugar is certified vegan.
Q: Why is mine too sweet?
A: This is an intensely sweet dessert by nature. You can slightly reduce the confectioners’ sugar by ½ a cup, but be aware this may affect the firmness of the set.
Q: How far in advance can I make it?
A: Perfectly! It keeps very well. Make it up to 3 days in advance stored in an airtight container in the fridge.
Final Thoughts:
The Coconut and Condensed Milk Dessert is a timeless testament to the idea that the most satisfying creations often come from the simplest of recipes. It requires no fancy equipment or complex skills, yet it yields a result that is visually charming, deeply satisfying, and rich with nostalgic flavor. It’s a recipe that empowers the baker, promises delight to the eater, and serves as a blank canvas for creativity. So, open your pantry, grab those few simple ingredients, and in less than 30 minutes of hands-on time, you can create a treat that feels like a genuine celebration of simplicity and sweetness. Happy cooking


