
Introduction to Cheesy Fiesta Chicken Skillet
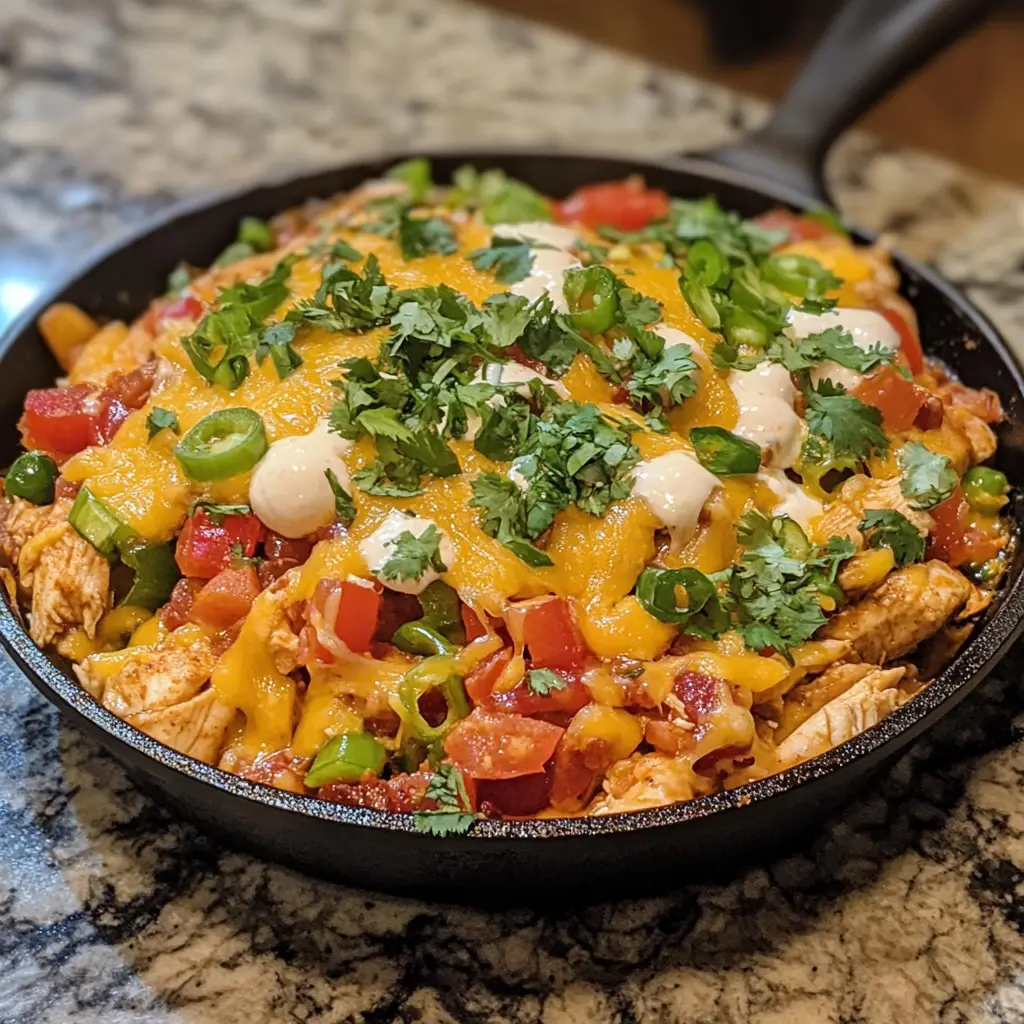
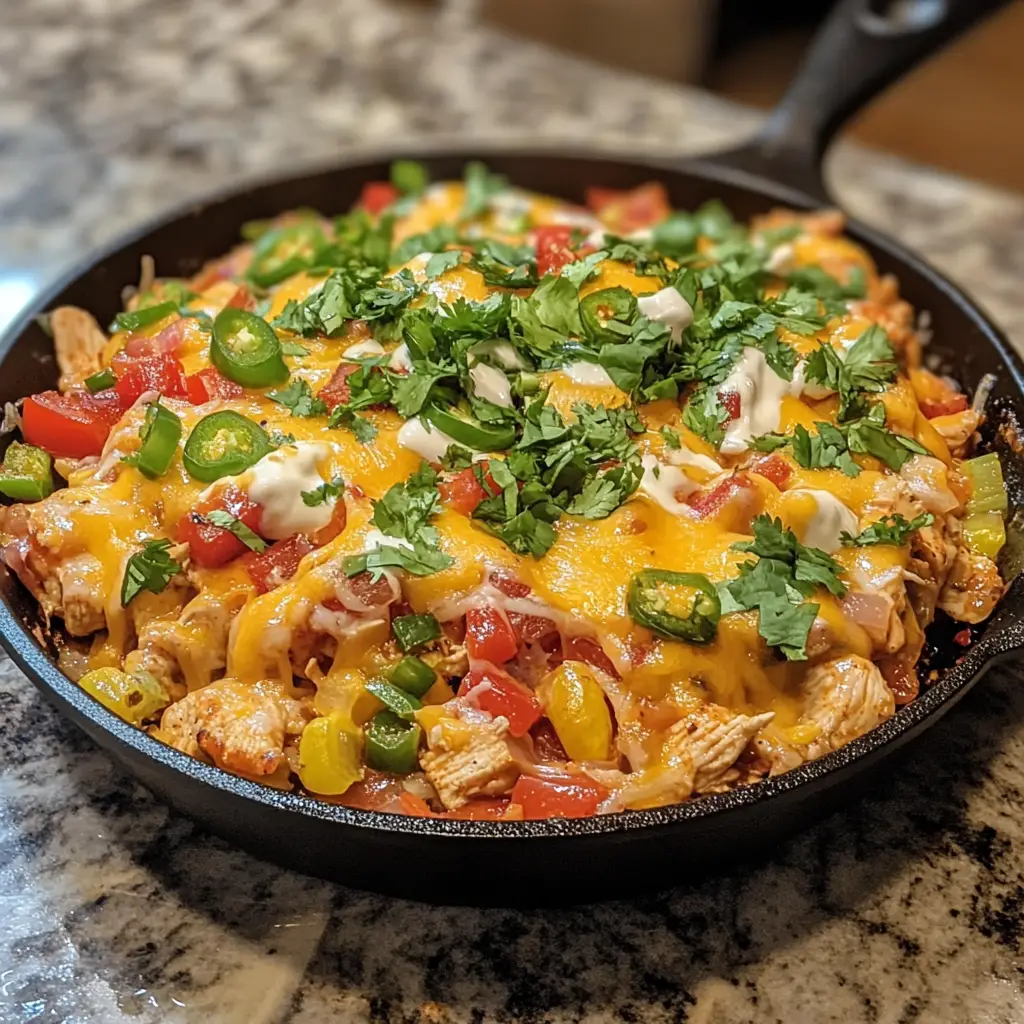
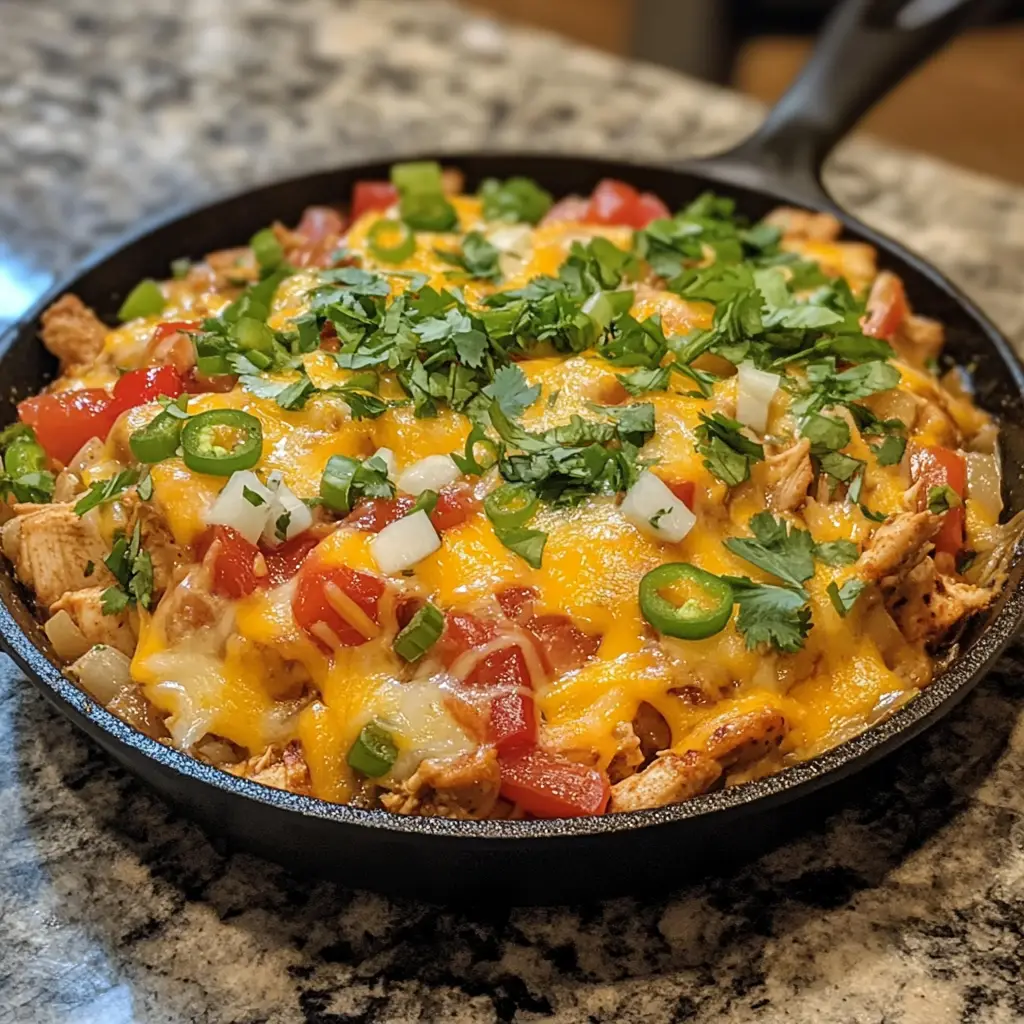
The Cheesy Fiesta Chicken Skillet is a vibrant, mouthwatering dish that brings together the bold flavors of a fiesta with the comforting embrace of melted cheese and tender chicken. This recipe combines juicy chicken breasts, colorful bell peppers, hearty black beans, and zesty spices, all simmered in a savory tomato sauce and crowned with a generous blanket of gooey melted cheese. It’s the perfect all-in-one meal for busy weeknights or casual weekend gatherings where everyone craves a burst of flavor without a fuss.
Why Is This Cheesy Fiesta Chicken Skillet So Popular?
This dish ticks all the boxes for busy families and flavor lovers alike. Its popularity stems from:
- One-Pan Convenience: Everything cooks in a single skillet, minimizing cleanup and maximizing ease.
- Bold, Festive Flavors: The combination of cumin, chili powder, garlic, and bell peppers creates that unmistakable fiesta flair.
- Cheesy Comfort: Melted cheese on top adds indulgence that both kids and adults adore.
- Versatility: It pairs beautifully with rice, tortillas, or just a fresh salad.
- Nutritious and Filling: Loaded with protein, fiber-rich beans, and colorful veggies, it’s a balanced meal.
- Speed: Ready in under 40 minutes, perfect for those busy weeknights.
The Cheesy Fiesta Chicken Skillet combines simplicity with crowd-pleasing appeal, making it a staple recipe that keeps showing up on dinner tables everywhere.
Why You’ll Love This Cheesy Fiesta Chicken Skillet:
- Full of Flavor: Every bite bursts with a perfect blend of smoky, spicy, and tangy notes.
- Comforting and Satisfying: The melted cheese and tender chicken provide the cozy, filling experience you want in a home-cooked meal.
- Customizable: Easily adjust the heat level or swap ingredients to suit your taste or what you have on hand.
- Meal Prep Friendly: Leftovers reheat well, making it a great option for lunches or next-day dinners.
- Family Friendly: A great way to sneak in veggies and beans in a delicious, non-intimidating way.
- Visually Stunning: The colorful peppers, beans, and bubbling cheese make it a feast for the eyes as well as the palate.
Here’s What You’ll Need:
For the Chicken and Skillet Base:
- 4 boneless, skinless chicken breasts (about 6-8 ounces each)
- 1 tablespoon olive oil
- 1 small onion, diced
- 1 red bell pepper, diced
- 1 yellow bell pepper, diced
- 3 cloves garlic, minced
- 1 (15-ounce) can black beans, drained and rinsed
- 1 (14.5-ounce) can diced tomatoes (fire-roasted preferred)
- 1 cup corn kernels (fresh, frozen, or canned)
- 1 teaspoon ground cumin
- 1 teaspoon chili powder
- ½ teaspoon smoked paprika
- ½ teaspoon dried oregano
- Salt and pepper, to taste
- 1 cup shredded Mexican blend cheese (cheddar, Monterey Jack, and queso quesadilla mix)
Optional Garnishes:
- Fresh cilantro, chopped
- Sliced jalapeños
- Sour cream or Greek yogurt
- Lime wedges
- Sliced green onions
- Avocado slices
How to Make Cheesy Fiesta Chicken Skillet:
Now that you have your ingredients ready, let’s dive into the steps for making this delightful Cheesy Fiesta Chicken Skillet. It’s as easy as pie, and I promise you’ll feel like a culinary superstar!
Step 1:
Heat olive oil in a large oven-safe skillet over medium-high heat. Season the chicken breasts generously with salt, pepper, cumin, chili powder, smoked paprika, and oregano on both sides.
Step 2:
Place the chicken breasts in the hot skillet and sear for about 4-5 minutes per side, until golden brown but not fully cooked through. Remove chicken from the skillet and set aside.
Step 3:
In the same skillet, add the diced onion and bell peppers. Sauté for 4-5 minutes, stirring occasionally, until softened and fragrant.
Step 4:
Add the minced garlic and cook for another 30 seconds until fragrant.
Step 5:
Stir in the black beans, corn, and diced tomatoes (including juices). Season the mixture lightly with salt and pepper. Let it simmer for 3-4 minutes to blend the flavors.
Step 6:
Nestle the seared chicken breasts back into the skillet on top of the veggie mixture. Spoon a little sauce over the chicken.
Step 7:
Sprinkle the shredded Mexican cheese evenly over the chicken and veggies. Reduce heat to low, cover, and let the cheese melt for about 5-7 minutes. Alternatively, you can transfer the skillet to a preheated oven at 375°F (190°C) for 5-7 minutes to melt the cheese and finish cooking the chicken fully.
Tips for Success:
- Use an oven-safe skillet (cast iron works perfectly) if finishing in the oven.
- Don’t skip the sear on the chicken—it locks in flavor and creates a nice crust.
- Adjust spice levels by adding cayenne pepper or using mild chili powder for less heat.
- For extra smoky flavor, use smoked paprika or chipotle powder.
- Add more veggies like zucchini or mushrooms for variety.
- If you want a saucier skillet, add ¼ cup chicken broth or tomato sauce before simmering.
- Rest the chicken a few minutes after cooking to retain juices.
Equipment Needed:
- Large oven-safe skillet (preferably cast iron or heavy-bottomed)
- Wooden spoon or spatula
- Chef’s knife and cutting board
- Measuring spoons and cups
- Oven mitts (if finishing in oven)
Variations of Cheesy Fiesta Chicken Skillet:
- Spicy Version: Add diced jalapeños or a dash of hot sauce to the sauce.
- Vegetarian Version: Skip the chicken and add extra beans, diced zucchini, and mushrooms.
- Creamy Twist: Stir in ¼ cup cream cheese or sour cream before adding cheese.
- Rice or Quinoa Base: Serve the skillet over cooked rice or quinoa for a heartier meal.
- Different Cheeses: Try pepper jack or a sharp cheddar for different cheese profiles.
- Taco Style: Add taco seasoning instead of cumin and chili powder for a different spice mix.
- Slow Cooker Adaptation: Brown chicken separately and combine all ingredients in a slow cooker, cooking on low for 4-5 hours.
Serving Suggestions for Cheesy Fiesta Chicken Skillet:
- Serve with warm tortillas or crusty bread to scoop up the cheesy goodness.
- Pair with cilantro lime rice or Mexican street corn for a full fiesta spread.
- Top with fresh avocado slices and a squeeze of lime for added freshness.
- Garnish with sour cream or Greek yogurt to balance the spice.
- Add a side salad with a light citrus vinaigrette to cut through the richness.
Prep Time:
15 minutes
Cooking Time:
25 minutes
Total Time:
40 minutes
Nutritional Information (per serving, serves 4):
- Calories: Approximately 450-500 kcal
- Protein: 40 grams
- Fat: 18 grams
- Carbohydrates: 30 grams
- Fiber: 8 grams
- Sodium: 700 mg (varies by canned ingredients and seasoning)
Note: Nutritional values may vary depending on ingredient brands and exact quantities.
FAQs about Cheesy Fiesta Chicken Skillet:
Q: Can I use chicken thighs instead of breasts?
A: Absolutely! Boneless, skinless thighs will add extra juiciness and flavor.
Q: Can I prepare this recipe ahead of time?
A: Yes, you can prepare the veggie mixture and season the chicken in advance. Combine and cook when ready.
Q: How do I store leftovers?
A: Store leftovers in an airtight container in the fridge for up to 3 days. Reheat gently in a skillet or microwave.
Q: Is this recipe freezer-friendly?
A: You can freeze the cooked mixture without cheese. Add fresh cheese when reheating.
Q: Can I make this recipe dairy-free?
A: Yes, omit the cheese or use a dairy-free cheese alternative.
Final Thoughts:
The Cheesy Fiesta Chicken Skillet is a fantastic recipe that delivers bold, comforting flavors with minimal effort. Its combination of tender chicken, vibrant veggies, hearty beans, and melted cheese makes it a winning dish that appeals to all ages. Whether you’re looking to impress guests or just want a reliable, delicious weeknight meal, this skillet recipe has you covered. Enjoy the fiesta in every bite and savor the ease of a one-pan meal that’s packed with flavor, nutrition, and cheer.


