
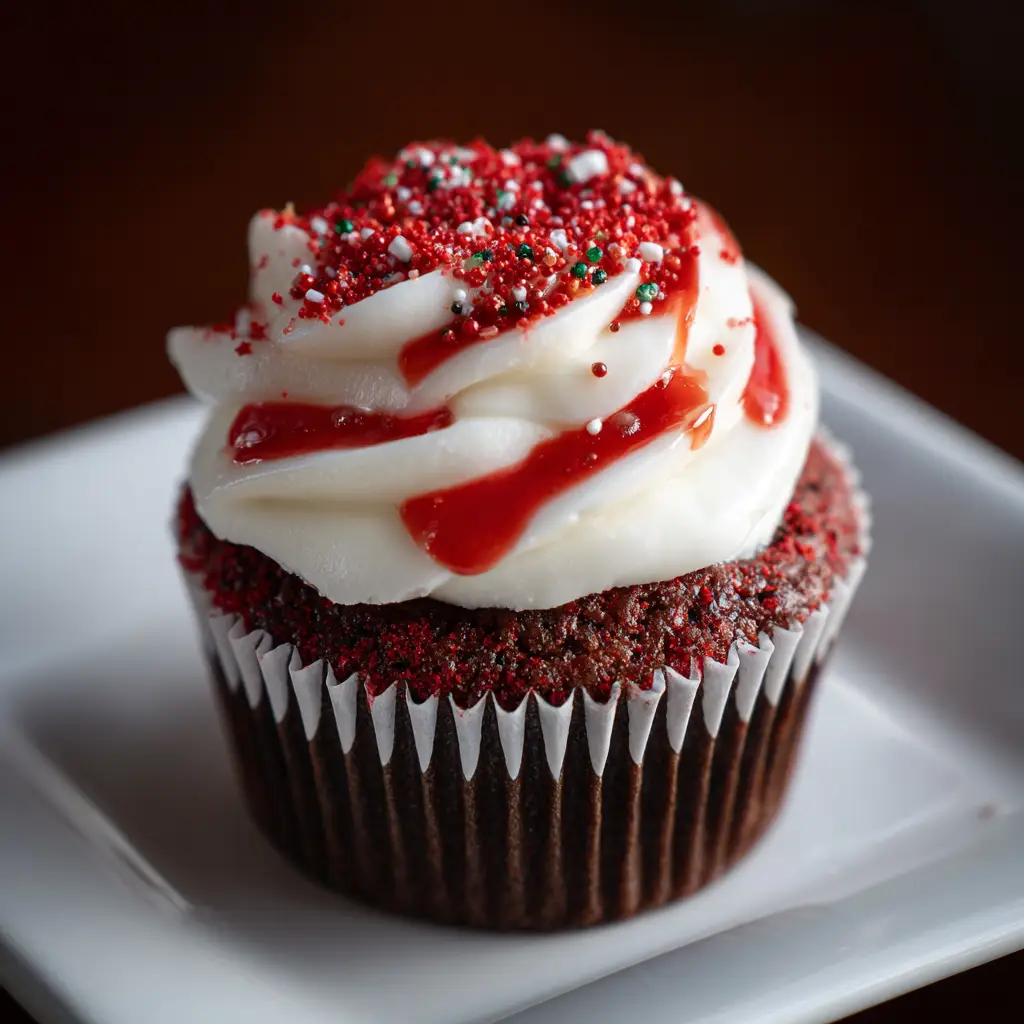
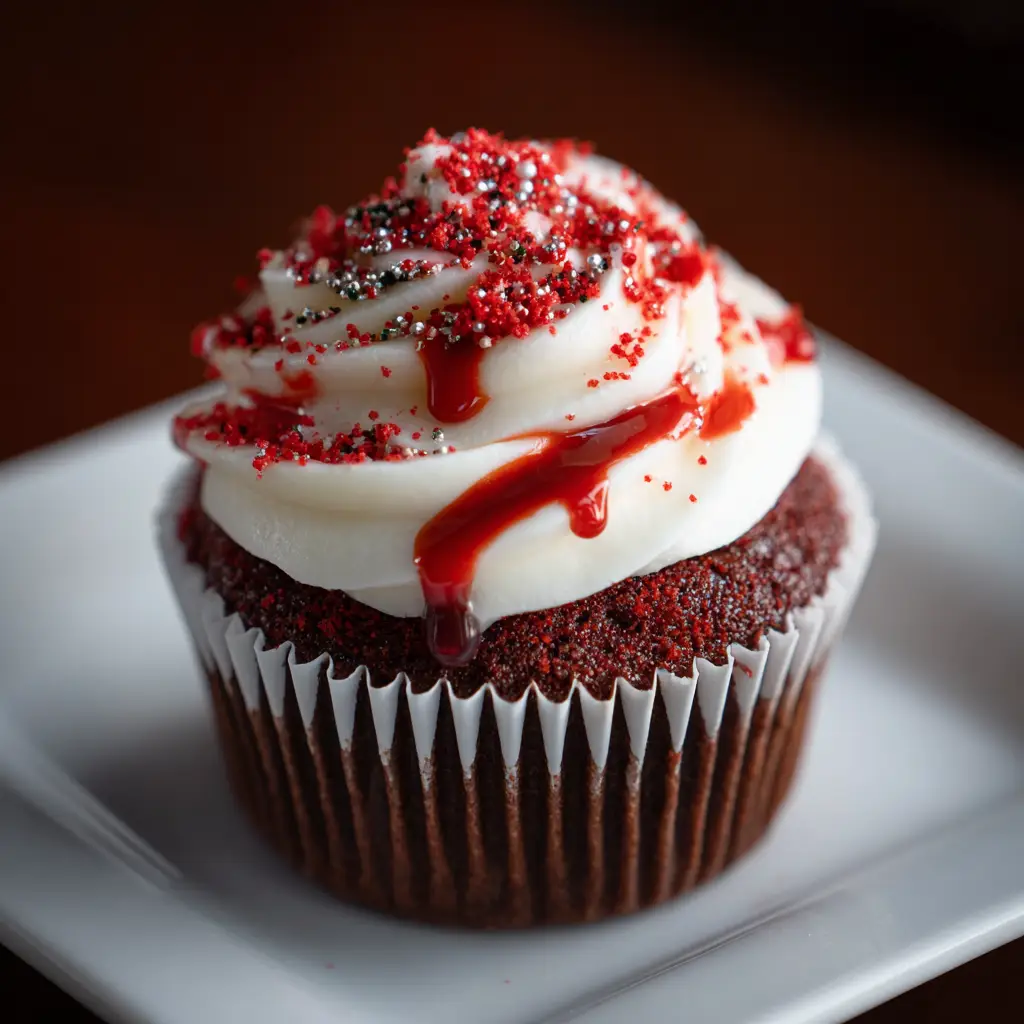
When the veil between worlds grows thin and the macabre becomes a cause for celebration, ordinary desserts simply won’t do. Enter the Bloody Red Velvet Cupcake: a masterpiece of gothic confectionery that is as delicious as it is delightfully disturbing. This is not just a red velvet cupcake; it is a theatrical experience, a miniature edible horror story perched in a paper liner. Imagine the classic, tender, and subtly chocolatey crumb of a perfect red velvet cake, but with a crimson hue so deep and dark it evokes something freshly unearthed. This sinister base is crowned not with a pristine white swirl, but with a shockingly realistic “bloody” cream cheese frosting, meticulously dripped and splattered to create a visceral, gory effect that is both shocking and utterly irresistible.
Why Is This Bloody Red Velvet Cupcake So Popular?
The fervent and widespread adoration for Bloody Red Velvet Cupcakes is a phenomenon built on a foundation of stunning visual drama, the beloved flavor of a classic, and the sheer, unadulterated fun of edible horror.
First and foremost is its unforgettable and immersive “gore factor.” The presentation is a masterclass in thematic baking. The dripping, oozing, splattered “blood” frosting is a dramatic and instantly recognizable effect that taps directly into the Halloween spirit. It’s creepy, it’s creative, and it provides a massive visual payoff for a relatively simple decorative technique. In the age of social media, these cupcakes are incredibly photogenic and shareable, guaranteed to stand out in a sea of ordinary treats.
Secondly, it boasts a sophisticated and universally adored flavor profile. Red velvet is a perennial favorite for a reason. Its unique flavor, sitting somewhere between chocolate and vanilla with a tangy buttermilk backbone, is a crowd-pleaser for all ages. By using this classic as a base, the recipe ensures that the taste lives up to the spectacular appearance. It’s a delicious cupcake first and a brilliant Halloween spectacle second.
Finally, its customizable and interactive nature makes it a perennial favorite. The level of “gore” is entirely up to the baker. You can go for a subtle trickle or a full-on crime scene splatter. You can add “scabs” with red sprinkles, embed plastic “glass” shards, or even create a “stitched” effect with black decorating gel. This creative freedom allows every baker to put their own sinister spin on the classic.
Why You’ll Love This Bloody Red Velvet Cupcake:
- A Show-Stopping Halloween Centerpiece: You will be captivated by the gasps and delighted squeals these cupcakes elicit from your guests.
- The Perfect Balance of Flavor and Fun: You will love how the familiar, delicious taste of red velvet contrasts with the spooky, dramatic presentation.
- Surprisingly Simple to Decorate: The bloody effect is achieved with simple piping and drizzling techniques that anyone can master.
- A Guaranteed Crowd-Pleaser: These cupcakes are a universal hit, appealing to horror fans, kids, and foodies alike.
- An Unforgettable Baking Project: Making these is an experience in itself, allowing you to unleash your inner Tim Burton.
Here’s what you’ll need:
Achieving the perfect bloody effect requires attention to both the cake and the “gory” frosting details.
For the Red Velvet Cupcakes:
- 1 ¼ cups (156g) All-Purpose Flour, spooned and leveled
- ¾ cup (150g) Granulated Sugar
- 1 teaspoon Baking Soda
- 1 teaspoon Unsweetened Cocoa Powder
- ½ teaspoon Salt
- ¾ cup Vegetable Oil
- ½ cup Buttermilk, at room temperature
- 1 large Egg, at room temperature
- 1 tablespoon Red Gel Food Coloring (Gel is mandatory for a deep, dark red color)
- 1 teaspoon Pure Vanilla Extract
- ½ teaspoon White Vinegar
For the “Bloody” Cream Cheese Frosting:
- 8 oz (226g) full-fat Cream Cheese, softened to room temperature
- ½ cup (1 stick or 113g) Unsalted Butter, softened to room temperature
- 3 cups (360g) Powdered Sugar, sifted
- 1 teaspoon Pure Vanilla Extract
- A pinch of Salt
- Red Gel Food Coloring AND Red Liquid Food Coloring (see step 6 for why both are used)
For the Garnish and “Gore”:
- Additional Red Gel Food Coloring or Red Edible Blood for drips
- Optional: Black Sprinkles, red sanding sugar, or plastic Halloween toppers (e.g., knives, eyeballs).

How to Make Bloody Red Velvet Cupcakes:
Now that you have your ingredients ready, let’s dive into the steps for making this delightful Bloody Red Velvet Cupcake. It’s as easy as pie, and I promise you’ll feel like a culinary superstar!
Step 1: Prepare the Oven and Pan
Preheat your oven to 350°F (175°C). Line a standard 12-cup muffin tin with black, dark brown, or red paper liners for a more dramatic effect.
Step 2: Combine Dry Ingredients
In a medium bowl, whisk together the flour, sugar, baking soda, cocoa powder, and salt. Ensure they are well combined and free of lumps.
Step 3: Combine Wet Ingredients
In a separate, larger bowl, whisk together the vegetable oil, buttermilk, egg, red gel food coloring, and vanilla extract until the mixture is smooth and uniformly a vibrant red.
Step 4: Combine Wet and Dry
Add the dry ingredients to the wet ingredients and stir with a spatula until just combined and no dry streaks remain. Do not overmix. Right at the end, stir in the ½ teaspoon of white vinegar. The reaction with the baking soda will help give the cupcakes a slight lift.
Step 5: Bake to Perfection
Divide the batter evenly among the prepared muffin cups, filling each about ⅔ full. Bake for 18-22 minutes, or until a wooden toothpick inserted into the center of a cupcake comes out clean. Let the cupcakes cool in the pan for 5 minutes before transferring them to a wire rack to cool completely.
Step 6: Create the “Bloody” Frosting Base
In the bowl of a stand mixer fitted with the paddle attachment, beat the softened cream cheese and butter together on medium speed until completely smooth and creamy. Gradually add the sifted powdered sugar, one cup at a time, beating on low speed until incorporated. Add the vanilla and salt. Once combined, increase the speed to medium-high and beat for 2 minutes until fluffy.
Now, for the color: First, add red GEL food coloring and beat until the frosting is a uniform, pale pink or light red color. This provides the base “flesh” tone.
Step 7: Frost and Create the Wound
Once the cupcakes are completely cool, use an offset spatula or a knife to spread a thick, uneven layer of the light red frosting onto each cupcake. Don’t make it perfect! Create swirls and slight depressions to look like torn skin.
Step 8: The Grand Finale – Add the “Blood”
This is a two-part process:
- Thick Blood: Take a small portion of your remaining frosting and mix in a very generous amount of red GEL food coloring until it becomes a deep, dark, blood-red paste. Place this in a small piping bag or a zip-top bag with a corner snipped off. Pipe a “wound” in the center of your frosted cupcake.
- Dripping Blood: To create the realistic drips, you need a thinner consistency. In a small bowl, mix a few tablespoons of red LIQUID food coloring (or store-bought edible blood) with a teaspoon of corn syrup or simple syrup. This creates a thin, glossy “blood.” Using a spoon, a piping bag, or even a plastic syringe, carefully drizzle this liquid over the edges of the cupcake, allowing it to drip down the sides. Splatter it artistically for a more dramatic effect.
Step 9: Add Final Garnishes
While the “blood” is still wet, you can add black sprinkles for “dirt” or press in a plastic knife or eyeball for an extra spooky touch.
Tips for Success:
- Gel Food Coloring is Non-Negotiable: Liquid food coloring will not achieve the deep, dark red color and will thin out your batter and frosting.
- Room Temperature is Key: Using room temperature cream cheese, butter, and eggs is crucial for a smooth, lump-free frosting and a well-emulsified batter.
- Cool Cupcakes Completely: Frosting a warm cupcake is a recipe for a melted, runny mess.
- The Two-Tone Blood: Using both a thick blood paste and a thin blood syrup is the secret to a realistic, multi-dimensional gory effect.
- Practice Your Drips: Do a test drip on the side of a glass to get a feel for the consistency before committing to the cupcake.
Equipment Needed:
- Standard Muffin Tin
- Cupcake Liners (black or red)
- Stand Mixer or Hand Mixer
- Mixing Bowls
- Whisk and Spatula
- Piping Bags or Zip-Top Bags
- Wire Cooling Rack
- Offset Spatula (optional but helpful)
Variations of Bloody Red Velvet Cupcake:
- Vampire Bite Cupcakes: Create two small holes in the frosting with the end of a spoon and have two thick blood drips coming from them.
- “Stitched” Zombie Cupcakes: After frosting, use black decorating gel to draw stitch marks across the “wound.”
- Poison Apple Version: Add a green apple flavoring to the frosting and use a darker, almost black-red color for the cake.
- Gluten-Free/Dairy-Free: Use a 1:1 gluten-free flour blend and dairy-free cream cheese and butter alternatives.
- Candy Glass Shards: Make shards of isomalt “candy glass” and carefully press them into the frosting for a “broken window” effect.
Serving Suggestions for Bloody Red Velvet Cupcake:
- Halloween Party Dessert Table: The undisputed star, placed on a tiered stand amidst fake cobwebs and plastic spiders.
- As a Themed Gift: Box them up in a clear box with black tissue paper for a spooky and thoughtful gift.
- With a “Blood Bag” Punch: Serve alongside a punch bowl filled with a red fruit punch served from a labeled “blood bag” pitcher.
- As a Standalone Treat: They are a complete and satisfying dessert all on their own.
Prep Time:
25 minutes
Cooking Time:
20 minutes
Total Time:
45 minutes (plus cooling time)
Nutritional Information (Approximate per cupcake):
- Calories: ~420 kcal
- Protein: 3 g
- Sodium: 220 mg
- Sugar: 45 g
- Fat: 22 g (Saturated: 9 g)
- Carbohydrates: 55 g
- Fiber: 0 g
Please note: This is an estimate and can vary significantly based on the specific brands of ingredients and the amount of frosting used.
FAQs about Bloody Red Velvet Cupcake:
Q: Can I make the cupcakes ahead of time?
A: Yes! The unfrosted cupcakes can be baked, cooled completely, and stored in an airtight container at room temperature for one day, or frozen for up to a month. Frost them the day you plan to serve them for the best visual effect.
Q: My “blood” drips are too thin and run everywhere. What happened?
A: Your liquid “blood” mixture is too thin. Thicken it by adding more red gel food coloring or a tiny bit of powdered sugar until it reaches a more controllable, syrup-like consistency.
Q: Is there a substitute for buttermilk?
A: Yes! Add 1 ½ teaspoons of white vinegar or lemon juice to a measuring cup and fill with whole milk to the ¾ cup line. Let it sit for 5-10 minutes until it curdles slightly.
Q: Why did my cupcakes dome too much?
A: This can be caused by overmixing the batter or an oven that runs too hot. For flatter tops, ensure you mix until just combined and invest in an oven thermometer to verify the temperature.
Q: Can I use store-bought frosting?
A: You can, but the flavor and texture will be inferior. To make it “bloody,” stir it vigorously to fluff it up, then follow the same coloring steps for the base and the drips.
Final Thoughts:
The Bloody Red Velvet Cupcake is more than a recipe; it is a portal to a world of playful macabre and culinary artistry. It is a dessert that challenges the norm, inviting you to play with your food in the most delightful and spooky way possible. The process of creating the deep red cake and transforming innocent frosting into a gruesome glaze is a deeply satisfying and fun experience. So, preheat your oven, don your apron, and get ready to create a batch of cupcakes that are as memorable as they are delicious. These are the treats that will haunt your guests’ dreams—in the best way possible. Happy baking, and happy haunting!
Print
Bloody Red Velvet Cupcakes: Spooky Halloween Dessert
- Total Time: 45 minutes
Description
Bake these bloody red velvet cupcakes for Halloween! Moist crimson cakes with cream cheese frosting & “blood” drizzle. The perfect creepy-crawly dessert for parties!
Ingredients
Achieving the perfect bloody effect requires attention to both the cake and the “gory” frosting details.
For the Red Velvet Cupcakes:
-
1 ¼ cups (156g) All-Purpose Flour, spooned and leveled
-
¾ cup (150g) Granulated Sugar
-
1 teaspoon Baking Soda
-
1 teaspoon Unsweetened Cocoa Powder
-
½ teaspoon Salt
-
¾ cup Vegetable Oil
-
½ cup Buttermilk, at room temperature
-
1 large Egg, at room temperature
-
1 tablespoon Red Gel Food Coloring (Gel is mandatory for a deep, dark red color)
-
1 teaspoon Pure Vanilla Extract
-
½ teaspoon White Vinegar
For the “Bloody” Cream Cheese Frosting:
-
8 oz (226g) full-fat Cream Cheese, softened to room temperature
-
½ cup (1 stick or 113g) Unsalted Butter, softened to room temperature
-
3 cups (360g) Powdered Sugar, sifted
-
1 teaspoon Pure Vanilla Extract
-
A pinch of Salt
-
Red Gel Food Coloring AND Red Liquid Food Coloring (see step 6 for why both are used)
For the Garnish and “Gore”:
-
Additional Red Gel Food Coloring or Red Edible Blood for drips
-
Optional: Black Sprinkles, red sanding sugar, or plastic Halloween toppers (e.g., knives, eyeballs).
Instructions
Now that you have your ingredients ready, let’s dive into the steps for making this delightful Bloody Red Velvet Cupcake. It’s as easy as pie, and I promise you’ll feel like a culinary superstar!
Step 1: Prepare the Oven and Pan
Preheat your oven to 350°F (175°C). Line a standard 12-cup muffin tin with black, dark brown, or red paper liners for a more dramatic effect.
Step 2: Combine Dry Ingredients
In a medium bowl, whisk together the flour, sugar, baking soda, cocoa powder, and salt. Ensure they are well combined and free of lumps.
Step 3: Combine Wet Ingredients
In a separate, larger bowl, whisk together the vegetable oil, buttermilk, egg, red gel food coloring, and vanilla extract until the mixture is smooth and uniformly a vibrant red.
Step 4: Combine Wet and Dry
Add the dry ingredients to the wet ingredients and stir with a spatula until just combined and no dry streaks remain. Do not overmix. Right at the end, stir in the ½ teaspoon of white vinegar. The reaction with the baking soda will help give the cupcakes a slight lift.
Step 5: Bake to Perfection
Divide the batter evenly among the prepared muffin cups, filling each about ⅔ full. Bake for 18-22 minutes, or until a wooden toothpick inserted into the center of a cupcake comes out clean. Let the cupcakes cool in the pan for 5 minutes before transferring them to a wire rack to cool completely.
Step 6: Create the “Bloody” Frosting Base
In the bowl of a stand mixer fitted with the paddle attachment, beat the softened cream cheese and butter together on medium speed until completely smooth and creamy. Gradually add the sifted powdered sugar, one cup at a time, beating on low speed until incorporated. Add the vanilla and salt. Once combined, increase the speed to medium-high and beat for 2 minutes until fluffy.
Now, for the color: First, add red GEL food coloring and beat until the frosting is a uniform, pale pink or light red color. This provides the base “flesh” tone.
Step 7: Frost and Create the Wound
Once the cupcakes are completely cool, use an offset spatula or a knife to spread a thick, uneven layer of the light red frosting onto each cupcake. Don’t make it perfect! Create swirls and slight depressions to look like torn skin.
Step 8: The Grand Finale – Add the “Blood”
This is a two-part process:
-
Thick Blood: Take a small portion of your remaining frosting and mix in a very generous amount of red GEL food coloring until it becomes a deep, dark, blood-red paste. Place this in a small piping bag or a zip-top bag with a corner snipped off. Pipe a “wound” in the center of your frosted cupcake.
-
Dripping Blood: To create the realistic drips, you need a thinner consistency. In a small bowl, mix a few tablespoons of red LIQUID food coloring (or store-bought edible blood) with a teaspoon of corn syrup or simple syrup. This creates a thin, glossy “blood.” Using a spoon, a piping bag, or even a plastic syringe, carefully drizzle this liquid over the edges of the cupcake, allowing it to drip down the sides. Splatter it artistically for a more dramatic effect.
Step 9: Add Final Garnishes
While the “blood” is still wet, you can add black sprinkles for “dirt” or press in a plastic knife or eyeball for an extra spooky touch.
Notes
-
Standard Muffin Tin
-
Cupcake Liners (black or red)
-
Stand Mixer or Hand Mixer
-
Mixing Bowls
-
Whisk and Spatula
-
Piping Bags or Zip-Top Bags
- Prep Time: 25 minutes
- Cook Time: 20 minutes
- Category: dessert
- Cuisine: American
Nutrition
- Calories: 420 kcal
- Sugar: 45g
- Sodium: 220 mg
- Fat: 22 g
- Carbohydrates: 55 g
- Protein: 3g


