
Introduction To Bacon Cheeseburger Sliders
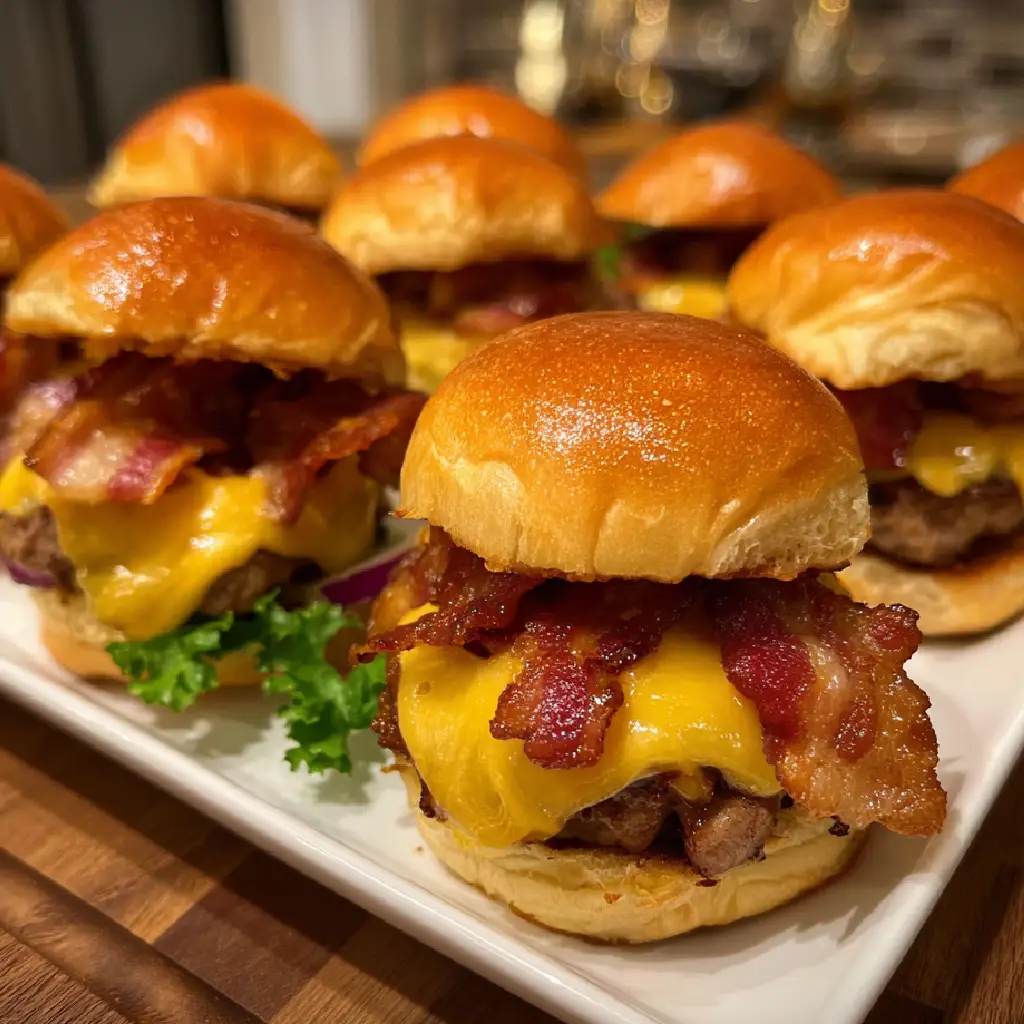
Sometimes, all you need is a big flavor packed into a small bite. That’s exactly what Bacon Cheeseburger Sliders deliver. These little sandwiches may be small in size, but they’re mighty in taste—stacked with crispy bacon, juicy seasoned beef, melty cheese, and toasted buns, they’re everything you love about a classic cheeseburger, only cuter, quicker, and perfect for sharing. Whether you’re planning a game day feast, a weeknight dinner, or a party appetizer everyone will rave about, these sliders are the ultimate go-to. They’re simple to make, ridiculously satisfying, and customizable to your cravings. Plus, there’s just something fun and nostalgic about picking up a mini burger with all the fixings.
Why Is This Recipe So Popular?
These Bacon Cheeseburger Sliders have taken over potlucks, Super Bowl parties, and family dinners for a reason. Let’s break down the hype:
- Flavor Explosion: Every layer is seasoned and crafted to deliver that classic burger taste—juicy beef, smoky bacon, creamy cheese, tangy pickles, and buttery buns.
- Crowd-Friendly: Made on a sheet pan and cut into individual sliders, you can easily feed a group without spending hours in the kitchen.
- Quick & Easy: There’s no need to shape a dozen individual patties. The beef cooks in one even layer, saving you time and mess.
- Portable & Perfect for Events: Because of their compact size, these sliders are ideal for lunchboxes, road trips, buffets, and casual get-togethers.
- Kid & Adult Approved: They strike that magical balance of being fun for kids and flavorful enough to satisfy adults.
Why You’ll Love This Recipe:
- ✅ Quick to Make – Ready in under an hour.
- ✅ Customizable – Add jalapeños, swap cheese, or use turkey instead of beef.
- ✅ Cheesy, Crispy, Meaty Goodness – A trifecta of flavor.
- ✅ Great for Freezing or Meal Prep – Make ahead and reheat as needed.
- ✅ Minimal Clean-Up – Baked on one sheet and assembled in one pan.
- ✅ Perfect Size – A few of these will fill you up, and they’re easy to serve.
Ingredients:
These ingredients come together to form a powerhouse of flavor:
- 🧂 1 lb ground beef (80/20 for juiciness)
- 🧄 1 tsp garlic powder
- 🧅 1 tsp onion powder
- 🧂 Salt and pepper to taste
- 🧀 6 slices cheddar cheese (or American)
- 🥓 8 slices bacon, cooked until crispy and chopped
- 🍞 1 pack of 12 slider buns or Hawaiian rolls
- 🧈 2 tbsp butter, melted
- 🌿 1 tsp sesame seeds (optional for topping)
- 🥬 Lettuce leaves (optional)
- 🍅 Sliced tomatoes (optional)
- 🥒 Sliced pickles
- 🍔 Burger sauce or mayo/ketchup/mustard combo
Preparation:
Step 1: Cook the Bacon 🥓
Place bacon strips in a skillet or on a baking sheet lined with foil. Cook until crispy (about 15–18 minutes in a 400°F oven), then transfer to paper towels to drain. Once cool, chop into small bits or half-strips.
Step 2: Prepare the Beef 🍖
In a skillet over medium-high heat, cook the ground beef. Break it apart with a spatula and season with garlic powder, onion powder, salt, and pepper. Cook until browned and no longer pink. Drain any excess grease. Tip: You can also press the beef into a 9×13 baking pan and bake it flat for 15 minutes at 400°F, then drain and slice.
Step 3: Assemble the Bottom Buns 🍞
Line a 9×13-inch baking dish or sheet pan with parchment paper. Slice the slider buns horizontally (keep them attached for easy layering). Place the bottom halves of the buns into the pan.
Step 4: Layer It Up 🍔
Evenly spread the cooked beef over the buns. Top with shredded or sliced cheese, followed by the crispy bacon bits. Add optional toppings like tomato slices or pickles. Place the top buns on.
Step 5: Butter & Bake 🧈🔥
Brush the tops of the buns with melted butter and sprinkle with sesame seeds if desired. Cover with foil and bake at 350°F for 10 minutes. Remove the foil and bake another 5 minutes until golden and melty.
Variation:
You can tailor these sliders to your mood or occasion with the following twists:
- Spicy Jalapeño Sliders: Add sliced jalapeños and pepper jack cheese.
- BBQ Bacon Sliders: Mix BBQ sauce into the beef for a smoky kick.
- Breakfast Version: Replace the beef with scrambled eggs and sausage.
- Veggie Delight: Use a plant-based patty or lentil-walnut mix.
- Sweet & Savory: Use Hawaiian rolls and a honey-mustard glaze on top.
COOKING Note:
These sliders are very forgiving, but a few key tips ensure success:
- 🍔 Don’t overcook the beef or it will dry out—just until browned.
- 🧈 Brush melted butter liberally on the tops for that golden crust.
- 🔪 Use a serrated knife when cutting the rolls for clean edges.
- 🧊 Cool the beef before layering so the buns don’t get soggy.
- 🧀 Use freshly grated cheese for better meltability.
Serving Suggestions:
These sliders shine on their own but pair beautifully with:
- 🍟 Crispy French fries or sweet potato fries
- 🥗 Tangy coleslaw
- 🥒 Pickle spears or pickle chips
- 🍺 A cold beer or sparkling soda
- 🌽 Grilled corn on the cob
- 🍉 Watermelon slices for a summer BBQ vibe
Tips:
- Make ahead and store in the fridge, then reheat at 350°F for 10 minutes.
- Double the batch for a party—you won’t have leftovers!
- Line the baking dish with foil or parchment for easy clean-up.
- Freeze cooked sliders wrapped individually for quick lunches.
- Add thin onion slices for a fresh crunch before baking.
Prep Time: 15 minutes
Cooking Time: 25 minutes
Total Time: 40 minutes
Nutritional Information (Per Slider Approx.):
- Calories: 270
- Protein: 12g
- Carbohydrates: 18g
- Fat: 17g
- Sodium: 480mg
- Sugar: 4g
- Fiber: 1g
FAQs:
Can I use ground turkey or chicken instead of beef?
Absolutely! Ground turkey or chicken is leaner and still flavorful—just season well to keep it juicy.
How do I keep sliders from getting soggy?
Cool the beef slightly before layering, and don’t overload the toppings with moisture-rich ingredients like tomatoes or sauces.
Can these be made ahead?
Yes! Assemble the sliders ahead, cover with foil, and refrigerate. Bake just before serving.
Can I freeze Bacon Cheeseburger Sliders?
You can! Wrap individual sliders in foil or plastic wrap and freeze for up to 2 months. Reheat at 350°F for 15–20 minutes.
What cheese works best?
Cheddar, American, or Colby Jack melt beautifully and give that classic burger taste.
Conclusion:
Bacon Cheeseburger Sliders are proof that good things come in small packages. With all the crave-worthy elements of a full-size burger packed into a hand-held bite, these sliders are versatile, comforting, and a guaranteed hit every time you make them. Whether for dinner, parties, or weekend indulgence, they’re your ticket to effortless flavor and fun. Whip up a batch and watch them disappear faster than you can say “sliders!” 🍔✨


