
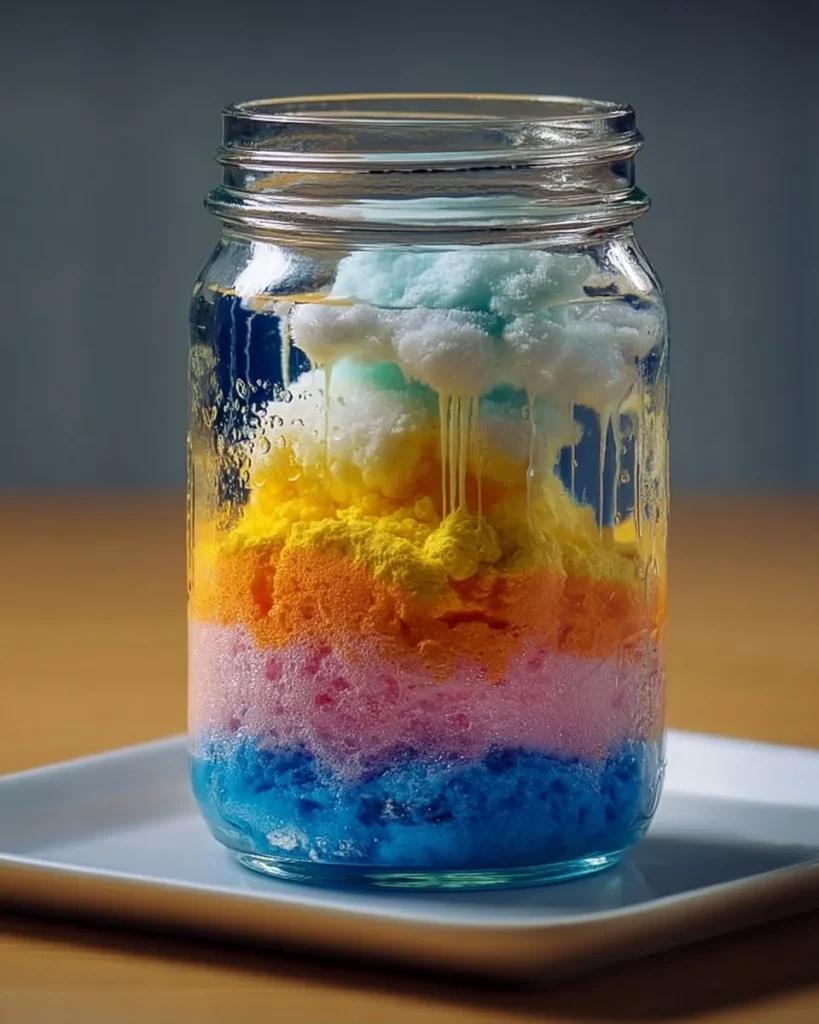
Creating a DIY Rain Cloud in a Jar is an adventure that marries science with whimsical fun, transforming your kitchen into a mini-laboratory bursting with wonder. Imagine the awe in your little one’s eyes as they watch colorful droplets form and fall, mimicking nature’s very own weather patterns. The anticipation builds as they witness the magic unfold right before them, a vibrant dance of colors swirling beneath a gentle raincloud. This engaging experience not only excites them but also sparks curiosity about the science of precipitation, making it a memorable learning opportunity.
As you gather around the table, the air hums with excitement. You’ll need just a few simple ingredients, yet the joy produced is limitless. The process is hypnotic, evoking the serenity of a soft, drizzling rain while enveloping you in laughter and learning. This craft is more than just an activity; it is a connection to nature and a spark for imagination.
Why You’ll Love This DIY Rain Cloud in a Jar
This DIY Rain Cloud in a Jar stands out for its mesmerizing visual appeal and educational value. With just a few ingredients, it becomes a multifaceted experience, perfect for curious minds eager to explore the marvels of the world around them. Watching the vibrant colors swirl and mix not only captivates young hearts but fosters conversations about meteorology and environmental science. This project is perfect for sunny days spent indoors, rainy afternoons, or as a delightful weekend family activity.
The benefits are plentiful: it bolsters creativity, enhances fine motor skills, and encourages collaborative play. Beyond its educational side, it’s a beautiful visual piece to display, reminding us of the fleeting beauty of a rain shower. Plus, your kitchen becomes the backdrop for countless memories as children delight in the spectacle of their very own DIY weather system.
Preparation Phase & Tools to Use
To embark on this delightful science craft, a few essential tools will enhance your experience. Each item plays a vital role, ensuring your rain cloud in a jar comes together smoothly:
- Glass Jar: Choose a clear glass jar to showcase the layered beauty of your creation. A mason jar works perfectly!
- Whipping Cream or Shaving Cream: This acts as the cloud. Heavy whipping cream makes a fluffier result, while shaving cream is easier for little hands to handle.
- Food Coloring: This magical ingredient bridges the gap between science and art, enhancing visual appeal.
- Dropper or Spoon: These tools help control the placement of the colored water and add to the precision of the experiment.
Preparation tips: Lay out all your materials before starting. Clean-up is a breeze with a few towels on hand, making the fun more enjoyable for everyone involved.
Ingredients for DIY Rain Cloud in a Jar
Here’s what you’ll need for this enchanting project:
- 1 clear glass jar
- Enough whipping cream or shaving cream to fill the jar about halfway (the density creates the cloud)
- Food coloring (blue, yellow, red) for a vivid display mixed with water for rain
- Water to fill the jar
Substitutions can include using gel food coloring for a deeper hue or opting for a clear sunscreen gel instead of whipped cream for an interesting twist.
How to Make DIY Rain Cloud in a Jar
Transforming your kitchen into a stormy sky is as easy as 1, 2, 3! Follow these steps to create your own rain cloud:
- Fill the Jar: Begin by filling your glass jar halfway with whipping cream or shaving cream. Aim for a fluffy top that resembles a cloud.
- Prepare the Coloring: In a separate cup, mix a few drops of food coloring with water. The more drops you use, the richer your rain will be!
- Drop the Colored Water: Using a dropper, lift the colored water and gently add drops onto the cloud. Watch with excitement as the colors transform upon contact!
- Observe the Rain: Take a moment to marvel at the rain as it begins to fall through the cloud, creating a stunning visual of colors cascading into the water below. Allow your little scientists to explore and discuss what they observe.
Pro Tip: For those who wish to experiment, use multiple colors to create a beautiful rainbow effect!
Chef’s Notes & Helpful Tips
- Make-ahead tips: You can prepare the cloud base in advance by layering the whipped cream beforehand. Simply store it in the fridge to maintain its shape.
- Customizations: Experiment with different food coloring combinations to create unique rain colors. Add glitter to the colored water for an extra sparkly effect!
- Alternatives: If whipped cream is not available, consider using a thicker soap or conditioner to simulate cloud thickness.
Common Mistakes to Avoid
One common mistake is overfilling the cloud base. Ensure you leave enough space for the rain to create a visual effect without overflowing. Another pitfall is using too many drops of food coloring, which can muddy the colors instead of creating distinct droplets. Start with fewer drops, and add more as needed for desired intensity.
What to Serve With DIY Rain Cloud in a Jar
While there’s no food involved in this craft, consider pairing it with an educational theme day:
- Nature-themed books: Pair the activity with educational reading on weather phenomena.
- Rain-themed snacks: Serve blue gelatin or angel food cake “clouds” with fruit toppings, merging culinary creativity with your science fun.
- Arts & crafts: Create rain-themed artwork alongside this activity, expanding the lesson into a full creative day.
- Movie time: Conclude with a nature documentary focusing on weather and ecosystems, allowing the experience to resonate further.
- Outdoor playtime: Dive into the wonders of nature outside after crafting indoors.
Storage & Reheating Instructions
As this is not an edible recipe, it doesn’t require traditional storage. If you’d like to store your craft, carefully cover your jar with plastic wrap to keep the ingredients intact for a short period. However, it is best enjoyed fresh!
Estimated Nutrition Information
As a science project, this recipe does not come with nutritional values. However, indulging in creative activities like this fosters emotional well-being and cognitive development!
FAQs
1. Can I use different kinds of containers?
Absolutely! Glass jars create the best visual effect, but you can experiment with plastic cups or bottles as alternative containers.
2. Can the rain cloud be reused?
While this craft is best fresh, you may be able to add more colored water for a second round of observation. Just remember that the “cloud” may lose its fluffiness over time.
3. Can you use edible colors instead of food coloring?
Certainly! Natural food coloring made from fruits and vegetables can also create a beautiful and safe visual effect.
4. What age is this activity suitable for?
DIY Rain Cloud in a Jar is perfect for children aged 4 and up, ideally done under adult supervision, especially with younger kids.
5. How can I scale this for a larger group?
Consider providing each child with their own jar, allowing for personalized colors and foster excitement in groups.
Conclusion
The DIY Rain Cloud in a Jar is more than just a craft; it’s a gateway to wonder, learning, and creativity. As you and your little ones witness droplets emerging from the clouds, you share in laughter, enchantment, and discovery. So gather your supplies, unleash your inner scientist, and dive into a storm of color and excitement today. This simple activity brightens rainy days and is sure to create joyful memories that will last long after the last drop falls! Give it a go, and watch your family’s joy pour forth like a summer rain!
Print
DIY Rain Cloud in a Jar
- Total Time: 10 minutes
- Yield: 1 jar 1x
- Diet: N/A
Description
A fun and educational DIY project that demonstrates the science of precipitation, creating a colorful rain cloud in a jar.
Ingredients
- 1 clear glass jar
- Whipping cream or shaving cream (enough to fill the jar halfway)
- Food coloring (blue, yellow, red)
- Water (to fill the jar)
Instructions
- Fill the jar halfway with whipping cream or shaving cream.
- Prepare food coloring by mixing a few drops with water in a separate cup.
- Drop the colored water onto the cloud using a dropper.
- Observe as the colored droplets fall through the cloud and into the water below.
Notes
Experiment with different food coloring combinations or add glitter for a sparkly effect. Store the jar covered with plastic wrap if needed.
- Prep Time: 10 minutes
- Cook Time: 0 minutes
- Category: Craft
- Method: Crafting
- Cuisine: N/A
Nutrition
- Serving Size: 1 jar
- Calories: 0
- Sugar: 0g
- Sodium: 0mg
- Fat: 0g
- Saturated Fat: 0g
- Unsaturated Fat: 0g
- Trans Fat: 0g
- Carbohydrates: 0g
- Fiber: 0g
- Protein: 0g
- Cholesterol: 0mg
Keywords: DIY, Rain Cloud, Science Experiment, Kids Activity, Educational Craft


