
Introduction to Cookie Dough Easter Eggs Recipe
As a passionate home cook, I find joy in creating delightful treats that bring smiles to faces, especially during festive seasons. Easter is one of those magical times when the air is filled with excitement, and the promise of sweet surprises is just around the corner. This year, I decided to whip up something a little different: Cookie Dough Easter Eggs! These little gems are not just a feast for the eyes; they are a delicious blend of nostalgia and creativity.
Growing up, I remember the thrill of hunting for Easter eggs, each one hiding a sweet treasure inside. But what if those eggs were filled with cookie dough? The thought alone made my heart skip a beat! So, I set out on a culinary adventure to create a recipe that captures that childhood joy while adding a modern twist. The result? A delightful treat that combines the rich, buttery flavor of cookie dough with the fun of Easter egg decorating.
In this recipe, I’ll guide you through each step, sharing tips and tricks that I’ve learned along the way. Whether you’re a seasoned baker or a novice in the kitchen, I promise you’ll find this process enjoyable and rewarding. Plus, these Cookie Dough Easter Eggs are perfect for sharing with family and friends, making them a wonderful addition to your Easter celebrations.
So, grab your apron and let’s dive into this sweet adventure together! I can’t wait to see how your Cookie Dough Easter Eggs turn out!
Ingredients for Cookie Dough Easter Eggs Recipe
Before we embark on our sweet journey, let’s gather all the ingredients we’ll need to create these delightful Cookie Dough Easter Eggs. I always believe that quality ingredients make a world of difference in baking. So, let’s make sure we have the best of the best!
Main Ingredients
- 1 cup unsalted butter, softened
- 1 cup brown sugar, packed
- 1/2 cup granulated sugar
- 2 teaspoons vanilla extract
- 2 cups all-purpose flour
- 1/2 teaspoon salt
- 1 cup mini chocolate chips
- 1/4 cup milk (or a dairy-free alternative)
- 1 cup chocolate melting wafers (for coating)
When it comes to butter, I always opt for unsalted. It gives me better control over the sweetness of my treats. And don’t skimp on the chocolate chips! They’re the little bursts of joy in every bite.
Optional Add-ons
- Colored sprinkles for decoration
- Peanut butter chips for a nutty twist
- Chopped nuts (like walnuts or pecans) for added crunch
- Flavored extracts (like almond or coconut) for a unique taste
Feel free to get creative with these optional add-ons! I love adding a sprinkle of color to my eggs, especially when I’m making them for the kids. It’s like a little burst of happiness on each egg!
Now that we have our ingredients ready, we’re one step closer to creating these scrumptious Cookie Dough Easter Eggs. Let’s move on to the fun part—preparing our sweet treats!
How to Prepare Cookie Dough Easter Eggs Recipe
Now that we have our ingredients ready, it’s time to roll up our sleeves and dive into the fun part—preparing our Cookie Dough Easter Eggs! I can already smell the sweet aroma wafting through my kitchen. Let’s get started!
Step 1: Make the Cookie Dough
First things first, we need to whip up that delicious cookie dough. In a large mixing bowl, cream together the softened butter, brown sugar, and granulated sugar until it’s light and fluffy. This step is crucial because it helps to incorporate air into the mixture, making your cookie dough light and delightful.
Tips for Step 1
- Make sure your butter is at room temperature. It should be soft but not melted. This will help it blend smoothly with the sugars.
- Use a hand mixer or stand mixer for the best results. It saves time and gives you that perfect creamy texture.
Step 2: Shape the Easter Eggs
Once your cookie dough is ready, it’s time to shape it into adorable little eggs! Take a small scoop of dough (about 1 tablespoon) and roll it between your palms to form an egg shape. I like to make them a bit larger than a regular egg, so they’re extra satisfying to bite into!
Tips for Step 2
- Wet your hands slightly to prevent the dough from sticking. It makes the shaping process much easier!
- Try to make them uniform in size for even coating later on. It’s all about that presentation!
Step 3: Chill the Cookie Dough Eggs
Now that we have our eggs shaped, it’s time to chill them in the refrigerator for about 30 minutes. This step is essential because it firms up the dough, making it easier to coat in chocolate later.
Tips for Step 3
- While the eggs chill, you can clean up your workspace. A tidy kitchen makes the cooking process so much more enjoyable!
- If you’re short on time, you can pop them in the freezer for about 15 minutes instead.
Step 4: Melt the Chocolate
While the cookie dough eggs are chilling, let’s melt the chocolate! I prefer using chocolate melting wafers because they melt smoothly and coat beautifully. Place them in a microwave-safe bowl and heat in 30-second intervals, stirring in between until fully melted.
Tips for Step 4
- Be careful not to overheat the chocolate. It can seize up and become unusable. Stirring frequently helps prevent this!
- If you want to add a splash of color, consider using colored candy melts instead of regular chocolate.
Step 5: Coat the Cookie Dough Eggs
Now comes the fun part—coating our chilled cookie dough eggs in chocolate! Using a fork, dip each egg into the melted chocolate, ensuring it’s fully covered. Let the excess chocolate drip off before placing them on a parchment-lined baking sheet.
Tips for Step 5
- For a thicker coating, you can dip the eggs twice. Just let the first layer set before dipping again!
- Use a toothpick to help lift the eggs out of the chocolate for a cleaner finish.
Step 6: Decorate the Easter Eggs
Once the chocolate has set, it’s time to get creative! You can decorate your eggs with colored sprinkles, drizzle some melted chocolate on top, or even use edible glitter for a festive touch. The sky’s the limit!
Tips for Step 6
- Work quickly when decorating, as the chocolate can set fast. Have your decorations ready to go!
- Let your kids join in on the fun! Decorating is a great way to make memories together.
And there you have it! Your Cookie Dough Easter Eggs are now ready to be enjoyed. I can’t wait for you to taste these delightful treats. They’re sure to be a hit at your Easter celebrations!
Equipment Needed for Cookie Dough Easter Eggs Recipe
Before we dive into the kitchen, let’s gather the essential tools that will make our Cookie Dough Easter Eggs a breeze to create. Having the right equipment on hand not only speeds up the process but also ensures that everything turns out just right. Here’s what you’ll need:
- Mixing Bowls: A large mixing bowl for combining the ingredients and a smaller one for melting the chocolate.
- Hand Mixer or Stand Mixer: This will help you achieve that light and fluffy cookie dough. If you don’t have one, a sturdy whisk will do the trick, but it may take a bit more elbow grease!
- Measuring Cups and Spoons: Accurate measurements are key to baking success. Make sure you have these handy!
- Cookie Scoop or Tablespoon: For shaping the dough into uniform egg shapes. If you don’t have a scoop, a regular tablespoon works just fine.
- Parchment Paper: Line your baking sheet with this to prevent sticking and make cleanup a breeze.
- Microwave-Safe Bowl: For melting the chocolate. If you prefer, you can also use a double boiler on the stove.
- Fork or Toothpick: These will help you dip and coat the cookie dough eggs in chocolate without making a mess.
With these tools at your side, you’ll be well-equipped to create your Cookie Dough Easter Eggs. Remember, the kitchen is a place for creativity, so feel free to improvise if you don’t have something on this list. Happy cooking!
Variations of Cookie Dough Easter Eggs Recipe
As I’ve experimented with my Cookie Dough Easter Eggs, I’ve discovered that there are endless ways to customize this delightful treat. Each variation brings a unique twist, making them even more fun to create and share. Here are a few of my favorite variations that you might want to try:
- Chocolate Peanut Butter Eggs: Swap out half of the butter for creamy peanut butter. This adds a rich, nutty flavor that pairs perfectly with the chocolate coating.
- Mint Chocolate Chip Eggs: Add a few drops of peppermint extract to the dough and use mint chocolate chips instead of regular ones. It’s like a refreshing breath of spring!
- Cookie Dough Brownie Eggs: Mix brownie batter with your cookie dough for a fudgy surprise inside. Just be sure to adjust the baking time if you decide to bake them!
- Fruit and Nut Eggs: Incorporate dried fruits like cranberries or apricots and chopped nuts into the dough for a chewy, crunchy texture. It’s a delightful twist that adds a bit of sophistication.
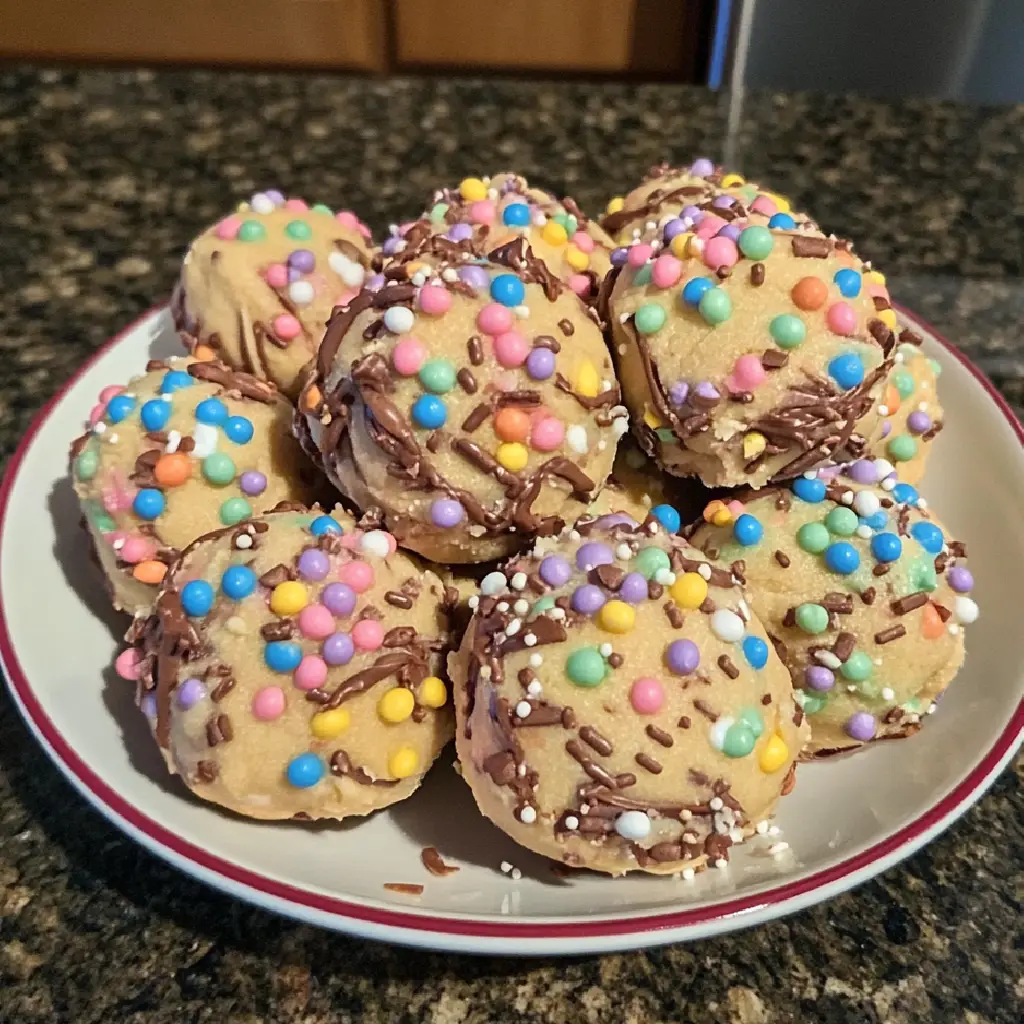
- Rainbow Sprinkle Eggs: Use colorful sprinkles in the dough and on top of the chocolate coating. These vibrant eggs are sure to brighten up any Easter celebration!
These variations not only add a personal touch but also allow you to cater to different tastes and preferences. I love how each version tells a different story, making every batch a new adventure in the kitchen. So, don’t hesitate to get creative and make these Cookie Dough Easter Eggs your own!
Cooking Notes for Cookie Dough Easter Eggs Recipe
As I’ve navigated the delightful world of baking, I’ve learned a few cooking notes that can make your experience with Cookie Dough Easter Eggs even smoother. Here are some tips that I find helpful:
- Room Temperature Ingredients: Always ensure your butter and eggs (if using) are at room temperature. This helps them blend better, creating a smoother dough.
- Chilling is Key: Don’t skip the chilling step! It not only firms up the dough but also enhances the flavors. Trust me, the wait is worth it!
- Chocolate Coating: If you find your chocolate is too thick for dipping, add a teaspoon of vegetable oil to thin it out. This will give you a smoother coating.
- Storage: Store your finished Cookie Dough Easter Eggs in an airtight container in the fridge. They’ll stay fresh for up to a week—if they last that long!
- Experiment with Flavors: Don’t hesitate to play around with different extracts and mix-ins. A splash of almond extract or a handful of toffee bits can take your eggs to the next level!
These cooking notes are like little nuggets of wisdom I’ve gathered over time. They help me create the best possible treats and ensure that my baking adventures are as enjoyable as they are delicious. Happy baking!
Serving Suggestions for Cookie Dough Easter Eggs Recipe
Now that our Cookie Dough Easter Eggs are beautifully crafted and ready to be enjoyed, let’s talk about how to serve them! Presentation can elevate any treat, and I love to make my creations look as delightful as they taste. Here are some fun serving suggestions that I’ve found to be crowd-pleasers:
- Easter Basket Delight: Arrange your Cookie Dough Easter Eggs in a colorful Easter basket, surrounded by shredded paper or grass. It makes for a charming centerpiece at any gathering!
- Individual Treat Bags: Place each egg in a small cellophane bag tied with a ribbon. These make perfect party favors for kids and adults alike, adding a personal touch to your celebrations.
- Platter of Joy: Serve the eggs on a decorative platter, mixing in some fresh fruit or edible flowers for a pop of color. It’s a simple way to make your dessert table look festive and inviting.
- Chocolate Dipping Station: Set up a fun dipping station with melted chocolate and various toppings like crushed nuts, sprinkles, and coconut flakes. Let guests customize their eggs for a delightful interactive experience!
- Pair with Milk: Serve your Cookie Dough Easter Eggs alongside a glass of cold milk or a fun Easter-themed drink. It’s a classic combination that never fails to please!
These serving suggestions not only enhance the visual appeal of your Cookie Dough Easter Eggs but also create memorable experiences for everyone involved. I can’t wait for you to try these ideas and see how your treats shine at your Easter celebrations!
Tips for Perfect Cookie Dough Easter Eggs Recipe
As I’ve crafted my Cookie Dough Easter Eggs over the years, I’ve picked up a few tips that can help you achieve perfection in every bite. These little nuggets of wisdom can make a big difference in your baking adventure. Here’s what I’ve learned:
- Measure Accurately: Baking is a science, so precise measurements are key. Use dry measuring cups for flour and sugar, and liquid measuring cups for milk. It ensures your dough has the right consistency!
- Don’t Rush the Chilling: Chilling the dough is crucial for shaping and coating. If you’re tempted to skip this step, remember that patience pays off in flavor and texture.
- Use Quality Chocolate: The chocolate coating can make or break your eggs. Choose high-quality chocolate or melting wafers for a smooth, delicious finish that complements the cookie dough.
- Experiment with Toppings: Get creative with your decorations! From crushed cookies to colorful sprinkles, the toppings can add a fun twist and make your eggs visually stunning.
- Store Properly: Keep your finished Cookie Dough Easter Eggs in an airtight container in the fridge. This keeps them fresh and delicious for days, allowing you to enjoy them longer!
With these tips in your back pocket, you’re well on your way to creating Cookie Dough Easter Eggs that are not only tasty but also a feast for the eyes. I can’t wait for you to share your creations with family and friends!
Breakdown of Time for Cookie Dough Easter Eggs Recipe
As a home cook, I know that time management is key in the kitchen. When I’m whipping up my Cookie Dough Easter Eggs, I like to keep track of how long each step takes. This way, I can plan my baking adventure without feeling rushed. Here’s a quick breakdown of the time you’ll need:
- Prep Time: 20 minutes – This includes gathering your ingredients, making the cookie dough, and shaping the eggs.
- Chilling Time: 30 minutes – A crucial step to ensure your eggs hold their shape and are easy to coat.
- Cooking Time: 10 minutes – This is the time it takes to melt the chocolate and coat the eggs.
- Total Time: 1 hour – From start to finish, you’ll have delicious Cookie Dough Easter Eggs ready to impress!
By keeping this timeline in mind, you can enjoy the process without any stress. Plus, knowing how long each step takes helps me plan for other fun activities, like decorating or spending time with family while the eggs chill. Happy baking!
Nutritional Information for Cookie Dough Easter Eggs Recipe
As a passionate home cook, I always find it helpful to know the nutritional content of the treats I create. It allows me to enjoy them mindfully and share that information with family and friends. Here’s a general breakdown of the nutritional information for one Cookie Dough Easter Egg, assuming you make about 12 eggs from the recipe:
- Calories: Approximately 180 calories
- Fat: 9g (Saturated Fat: 5g)
- Carbohydrates: 24g (Sugars: 12g)
- Protein: 2g
- Sodium: 50mg
Keep in mind that these values can vary based on the specific ingredients you use and any optional add-ons you choose to include. For instance, if you add peanut butter or nuts, the protein and fat content will increase. I always encourage balance, so enjoy these delightful Cookie Dough Easter Eggs as a special treat during your Easter celebrations!
Frequently Asked Questions about Cookie Dough Easter Eggs Recipe
As I’ve shared my Cookie Dough Easter Eggs with friends and family, I’ve received quite a few questions about the recipe. It’s always fun to see the excitement and curiosity that these sweet treats spark! Here are some of the most frequently asked questions, along with my answers to help you on your baking journey.
Can I use gluten-free flour for this recipe?
Absolutely! I’ve had great success using gluten-free all-purpose flour in my Cookie Dough Easter Eggs. Just make sure to check that your chocolate melting wafers are also gluten-free. It’s a wonderful way to make these treats accessible for everyone!
How long do the Cookie Dough Easter Eggs last?
When stored in an airtight container in the fridge, these delightful eggs can last up to a week. However, I can’t promise they’ll stick around that long—they’re just too delicious!
Can I freeze the Cookie Dough Easter Eggs?
Yes, you can! If you want to make them ahead of time, freeze the shaped cookie dough eggs before coating them in chocolate. Just place them in a single layer on a baking sheet until frozen, then transfer them to a freezer-safe container. When you’re ready to enjoy them, simply thaw and coat in chocolate!
What can I use instead of chocolate melting wafers?
If you don’t have chocolate melting wafers, you can use chocolate chips instead. Just keep in mind that they may not melt as smoothly, so adding a little vegetable oil can help achieve that perfect coating consistency.
Can I make these eggs without chocolate?
While chocolate is a key component of the recipe, you can certainly get creative! Consider rolling the cookie dough eggs in crushed nuts, coconut, or even powdered sugar for a different twist. They’ll still be delicious, just without the chocolate coating!
These questions reflect the curiosity and creativity that come with baking. I hope my answers help you feel more confident as you embark on your own Cookie Dough Easter Eggs adventure. Remember, the kitchen is a place for exploration, so don’t hesitate to ask more questions or try new things!
Conclusion on Cookie Dough Easter Eggs Recipe
As I wrap up this delightful journey of creating Cookie Dough Easter Eggs, I can’t help but feel a sense of joy and accomplishment. These sweet treats are not just a feast for the taste buds; they are a celebration of creativity, nostalgia, and the joy of sharing with loved ones. The combination of rich cookie dough and a smooth chocolate coating makes for a truly irresistible treat that brings smiles to faces young and old.
What I love most about this recipe is its versatility. Whether you stick to the classic version or explore the fun variations, each batch tells a unique story. Plus, the process of making these eggs can be a wonderful bonding experience with family and friends, creating memories that last a lifetime.
So, as you embark on your own Cookie Dough Easter Eggs adventure, remember to savor each moment in the kitchen. Enjoy the laughter, the creativity, and of course, the delicious results. I can’t wait for you to share these delightful treats with your loved ones. Happy baking, and may your Easter be filled with sweetness and joy!


